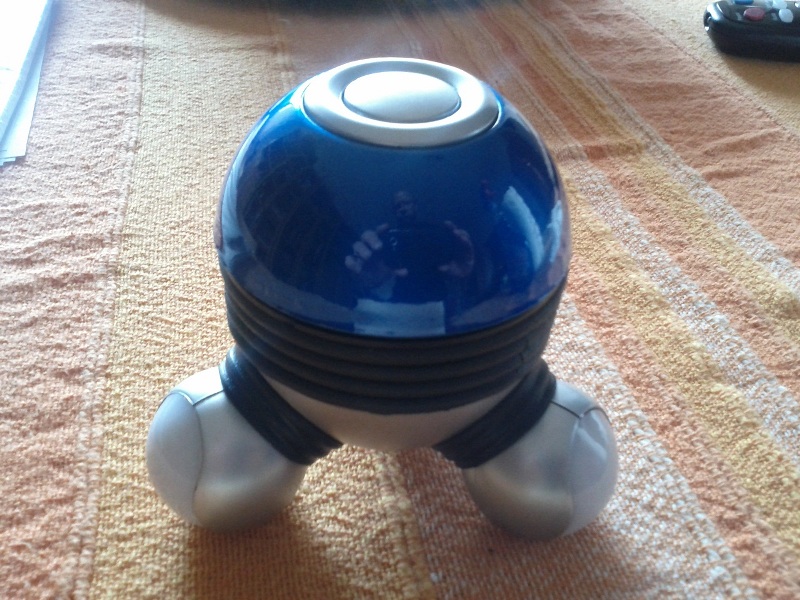
Robot shoe brush Posted inrobot brush , Robottini In those days I was thinking about the mechanism of vibration in cell phones and wondered how it worked. I…
12 servos controller low cost Posted inTips Building a robot with wheels or with legs needs a design completly different. One of the biggest difference is the…
Home made Vacuum Gripper Posted invacuum gripper This gripper uses an inexpensive syringe as the vacuum source. A gripper is the final part of a…
Arduino and real time charts in Excel Posted inTips One of the most important things in the robot design is the possibility to check and control the values feeded…
Simple talking robot Posted inRobottini , Speech Giving the voice to a toy always has been a dream when I was a child. There weren’t talking toys…
How to choose the motors for the robot Posted inTips One of the problem building a robot is the choice of motors. I’m speaking about a mobile robot with…
Charting data sent via serial port in real time Posted inTips Often it is needed to chart in real time the values coming from the serial port (RS-232). In Arduino environment…
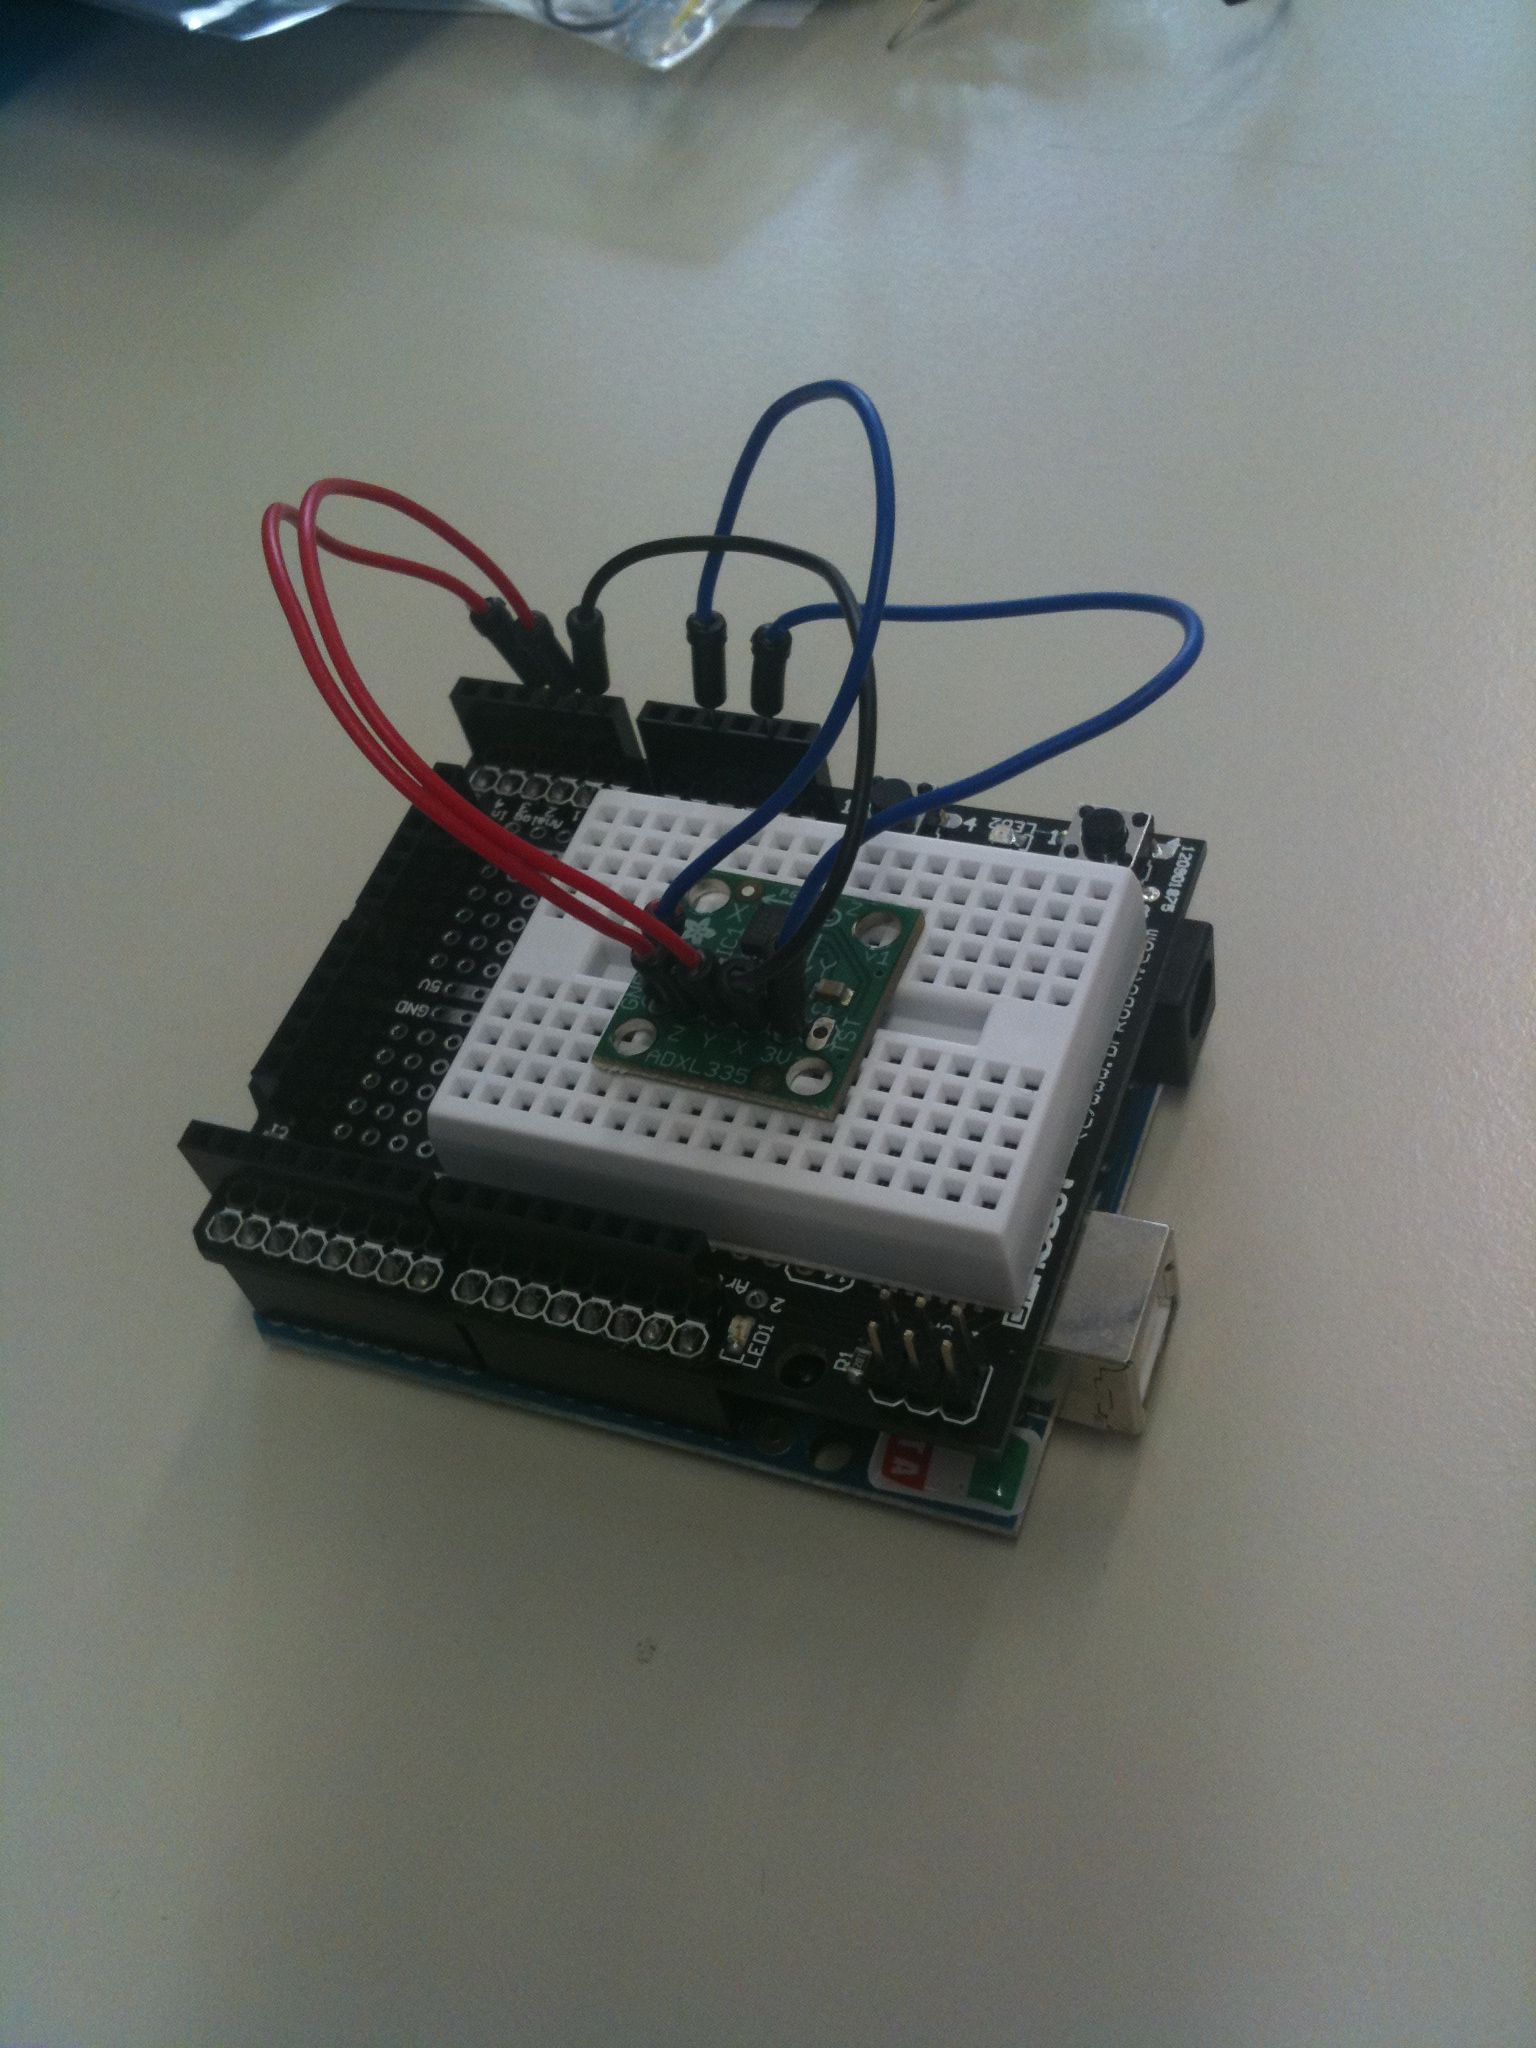
YASBR – Yet Another Self-Balancing Robot Posted inRobottini The self-balancing robot building is today an activity that every robot builder can perform with Arduino. Searching in Google for…
Simple audio player with Arduino Posted inSpeech A small audio chip is available on the market at low cost (20 euros) that allows to build an audio…
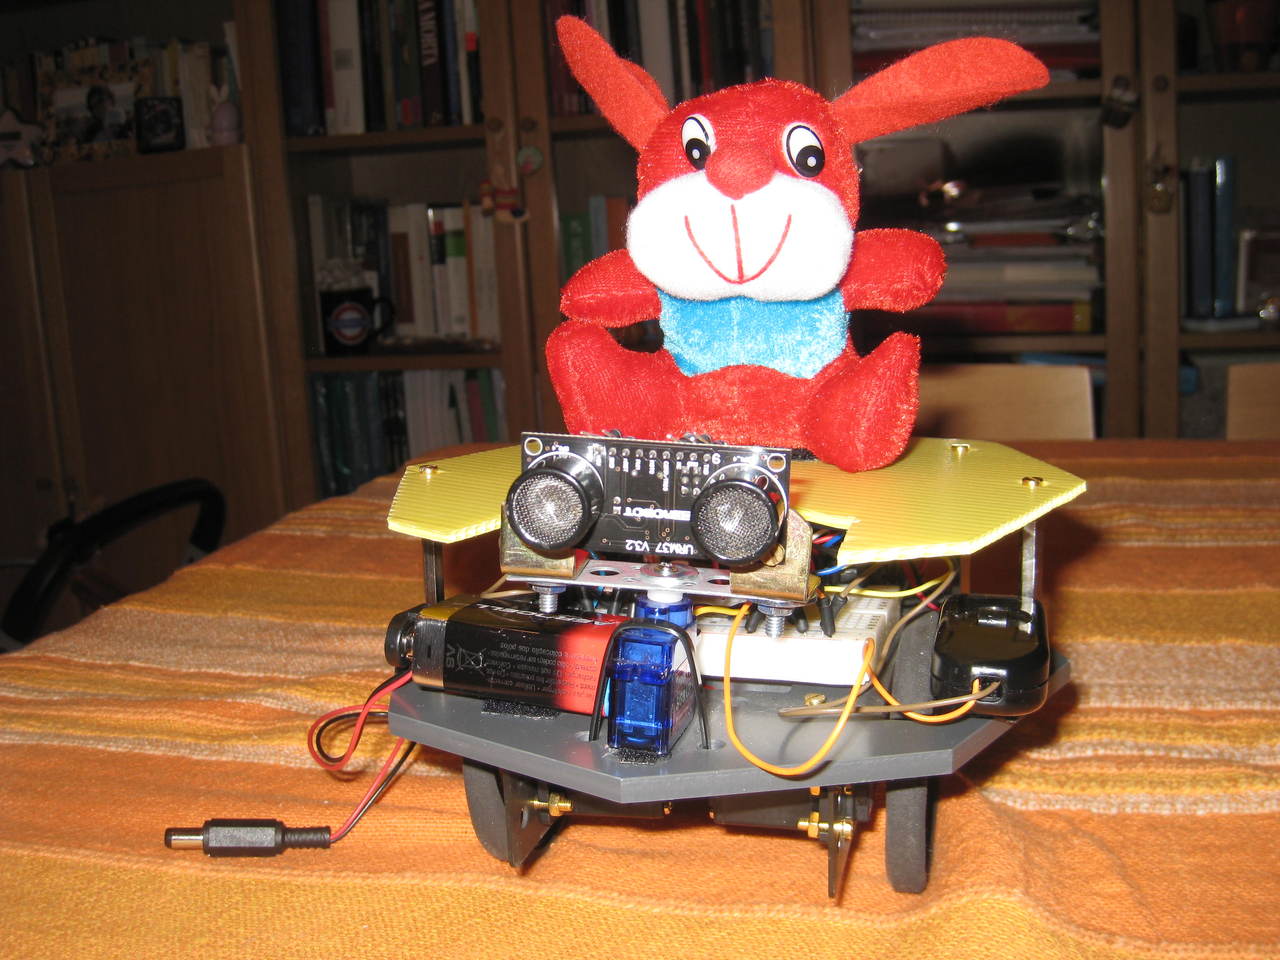
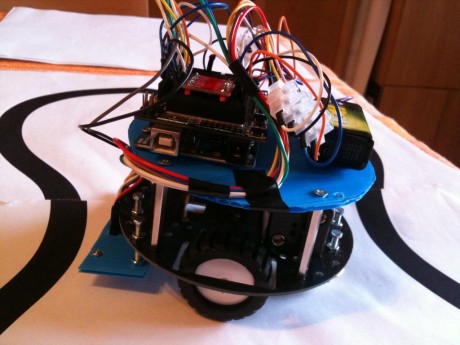
Linea – Line follower Posted inRobottini Linea is my first line follower based on Arduino. A line follower is a robot for beginners. In fact…