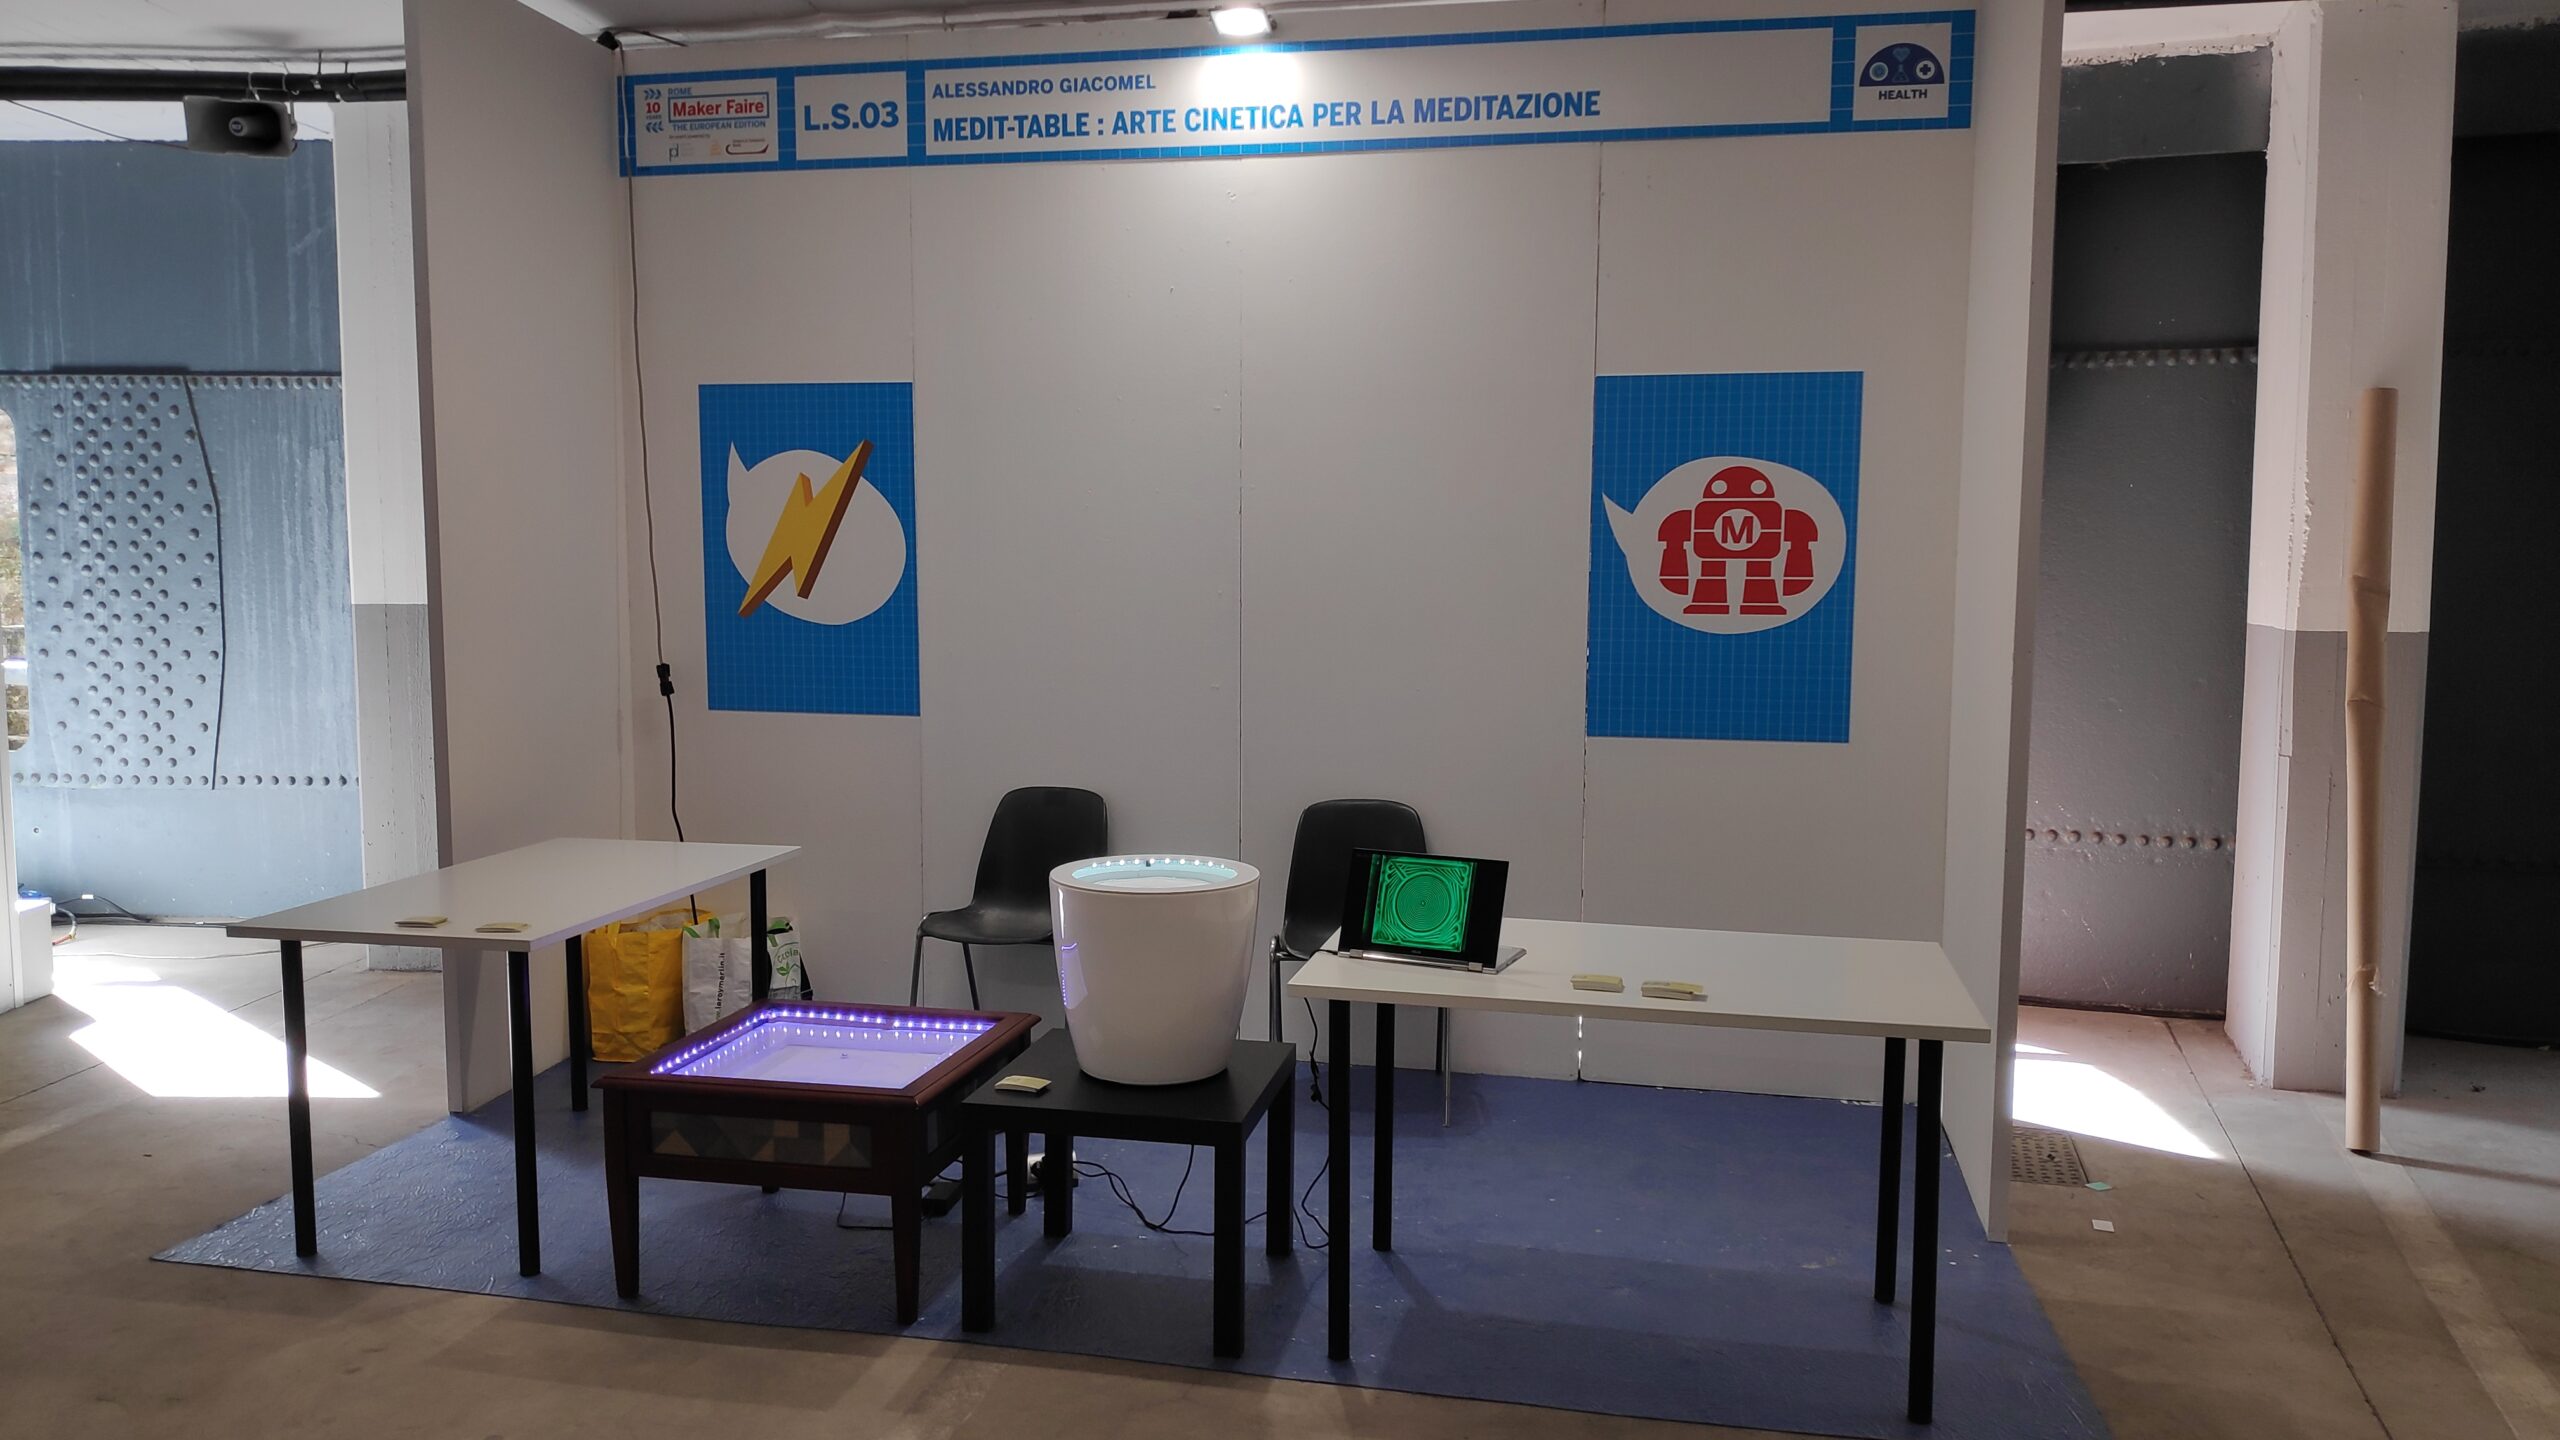
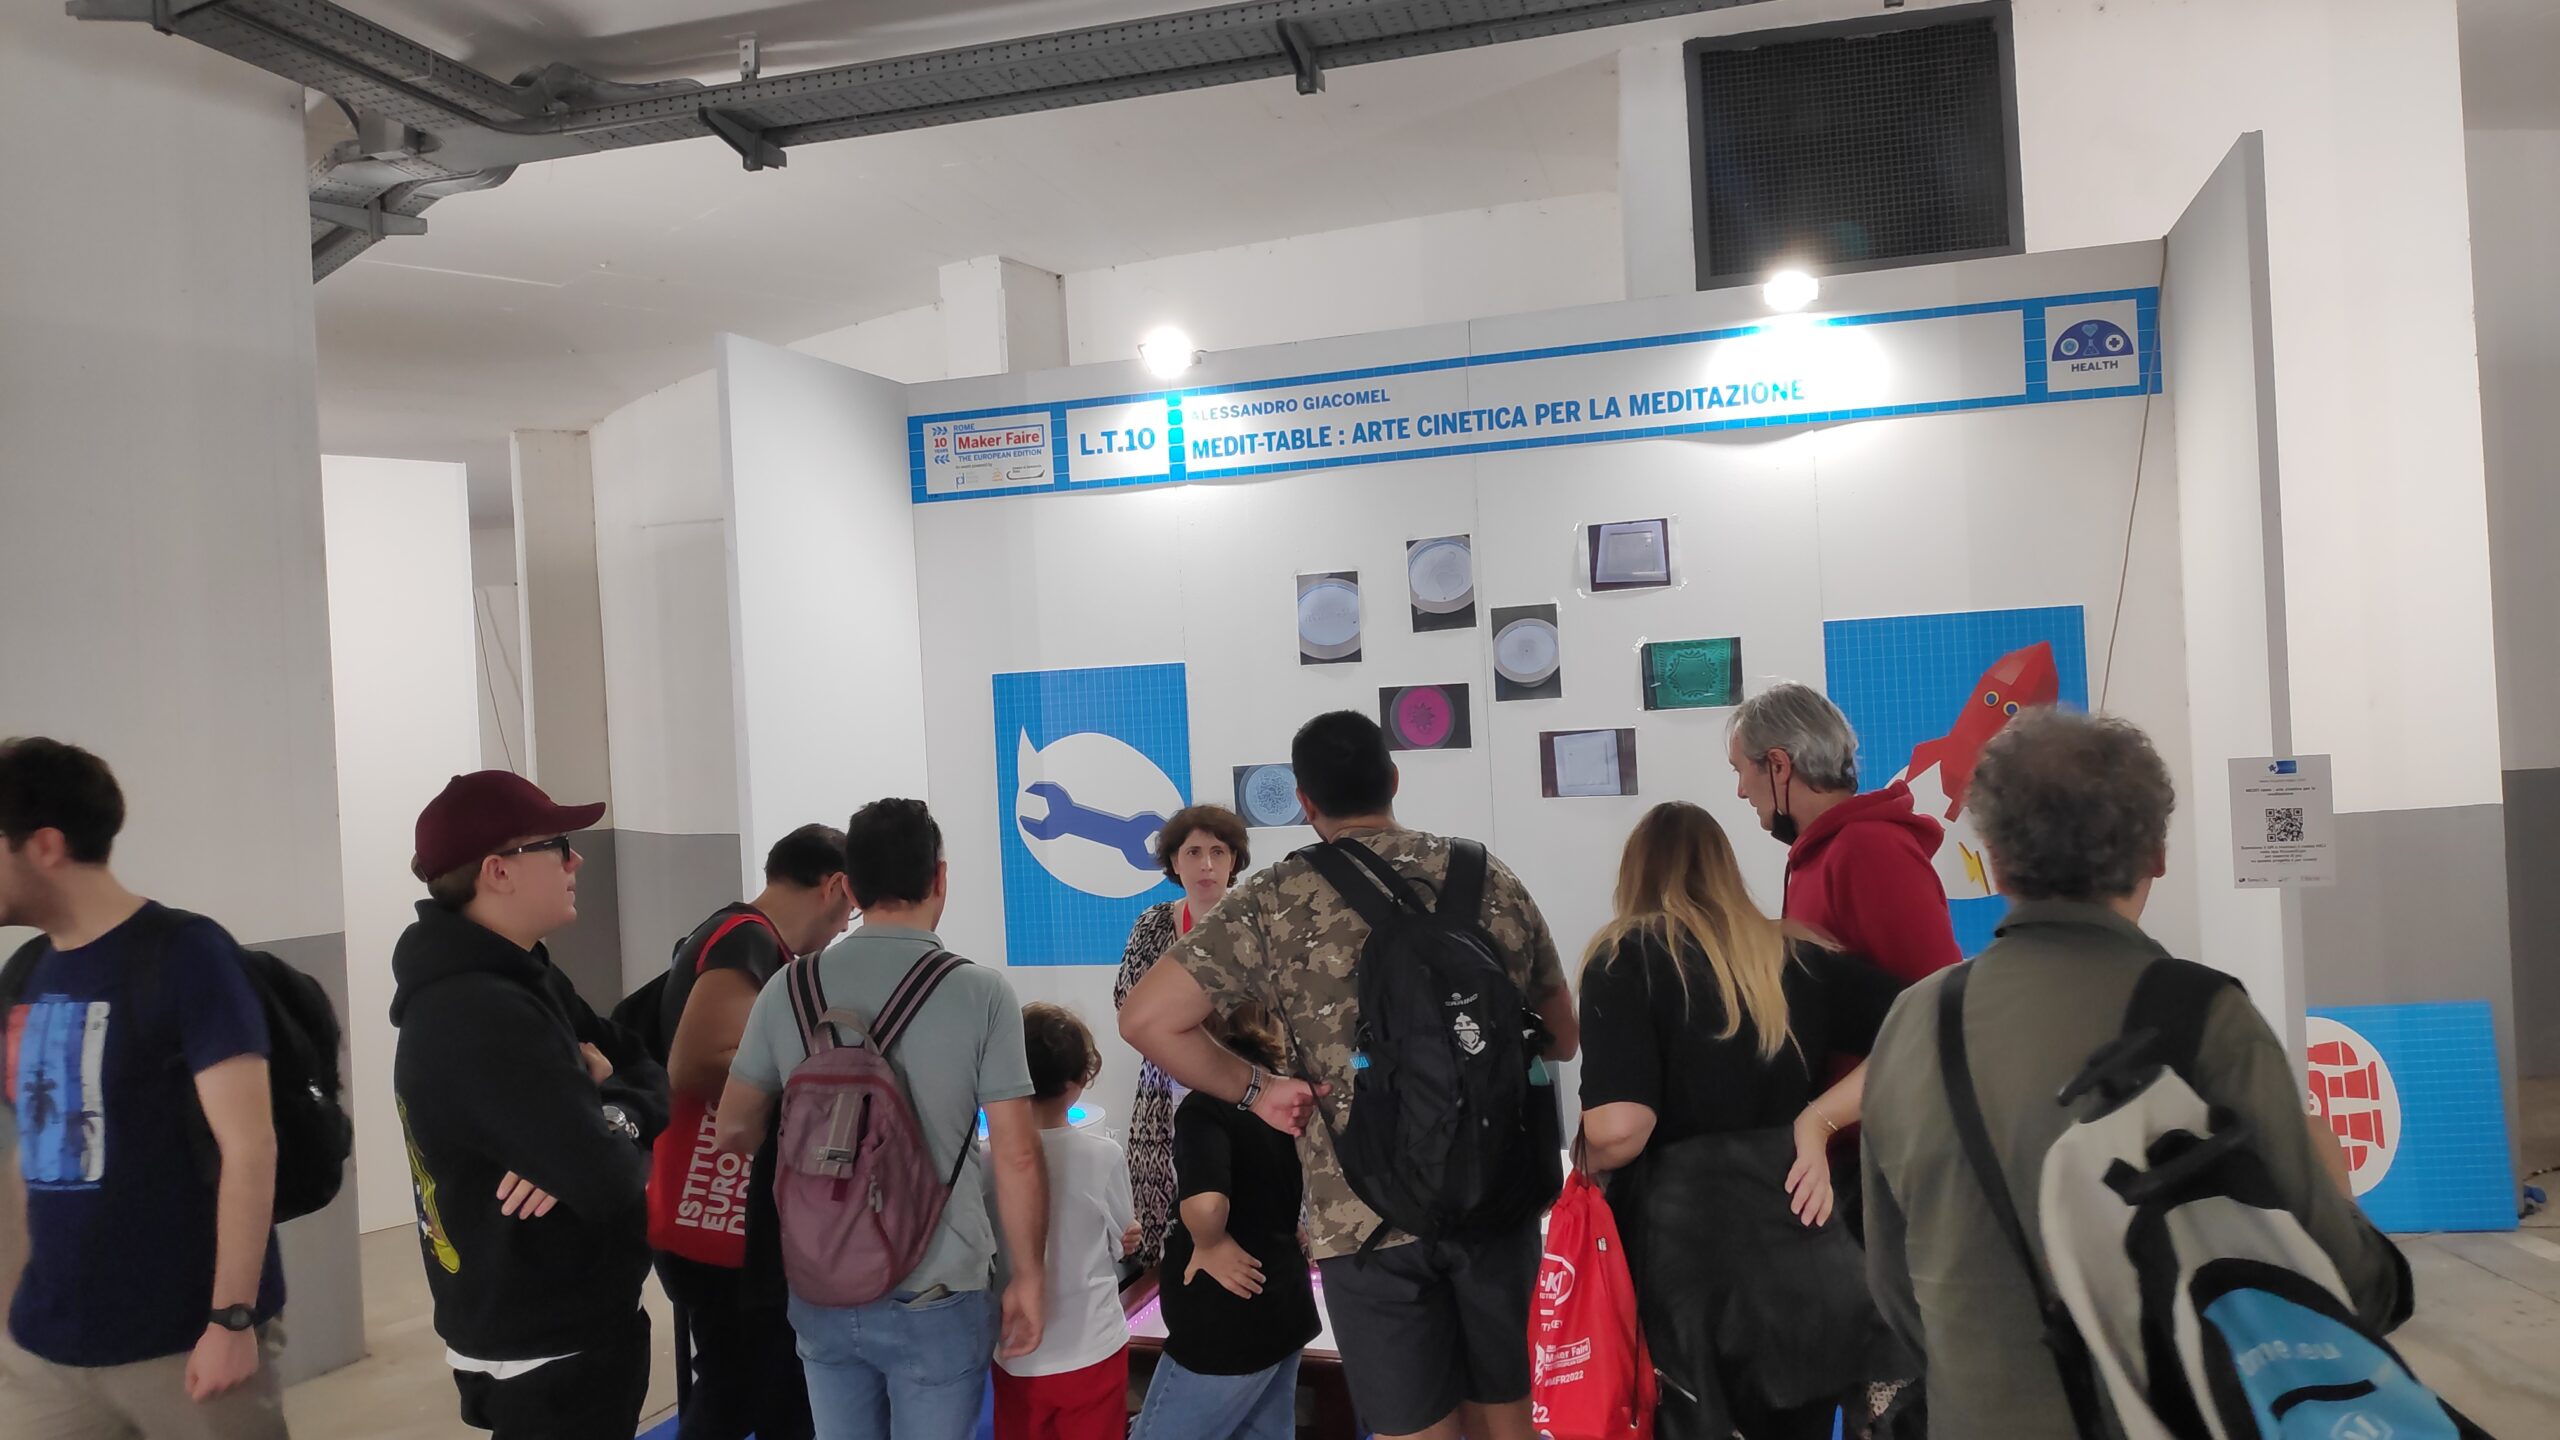
This year, I decided not to join the Maker Faire in Rome, but instead, I’m taking part in the one in Trieste. It’s a smaller event, but full of fellow makers like me, and there aren’t as many big companies and startups there.
I brought a new version of last year’s Medit-Table. This time, I made two much smaller tables than the ones I had last year.

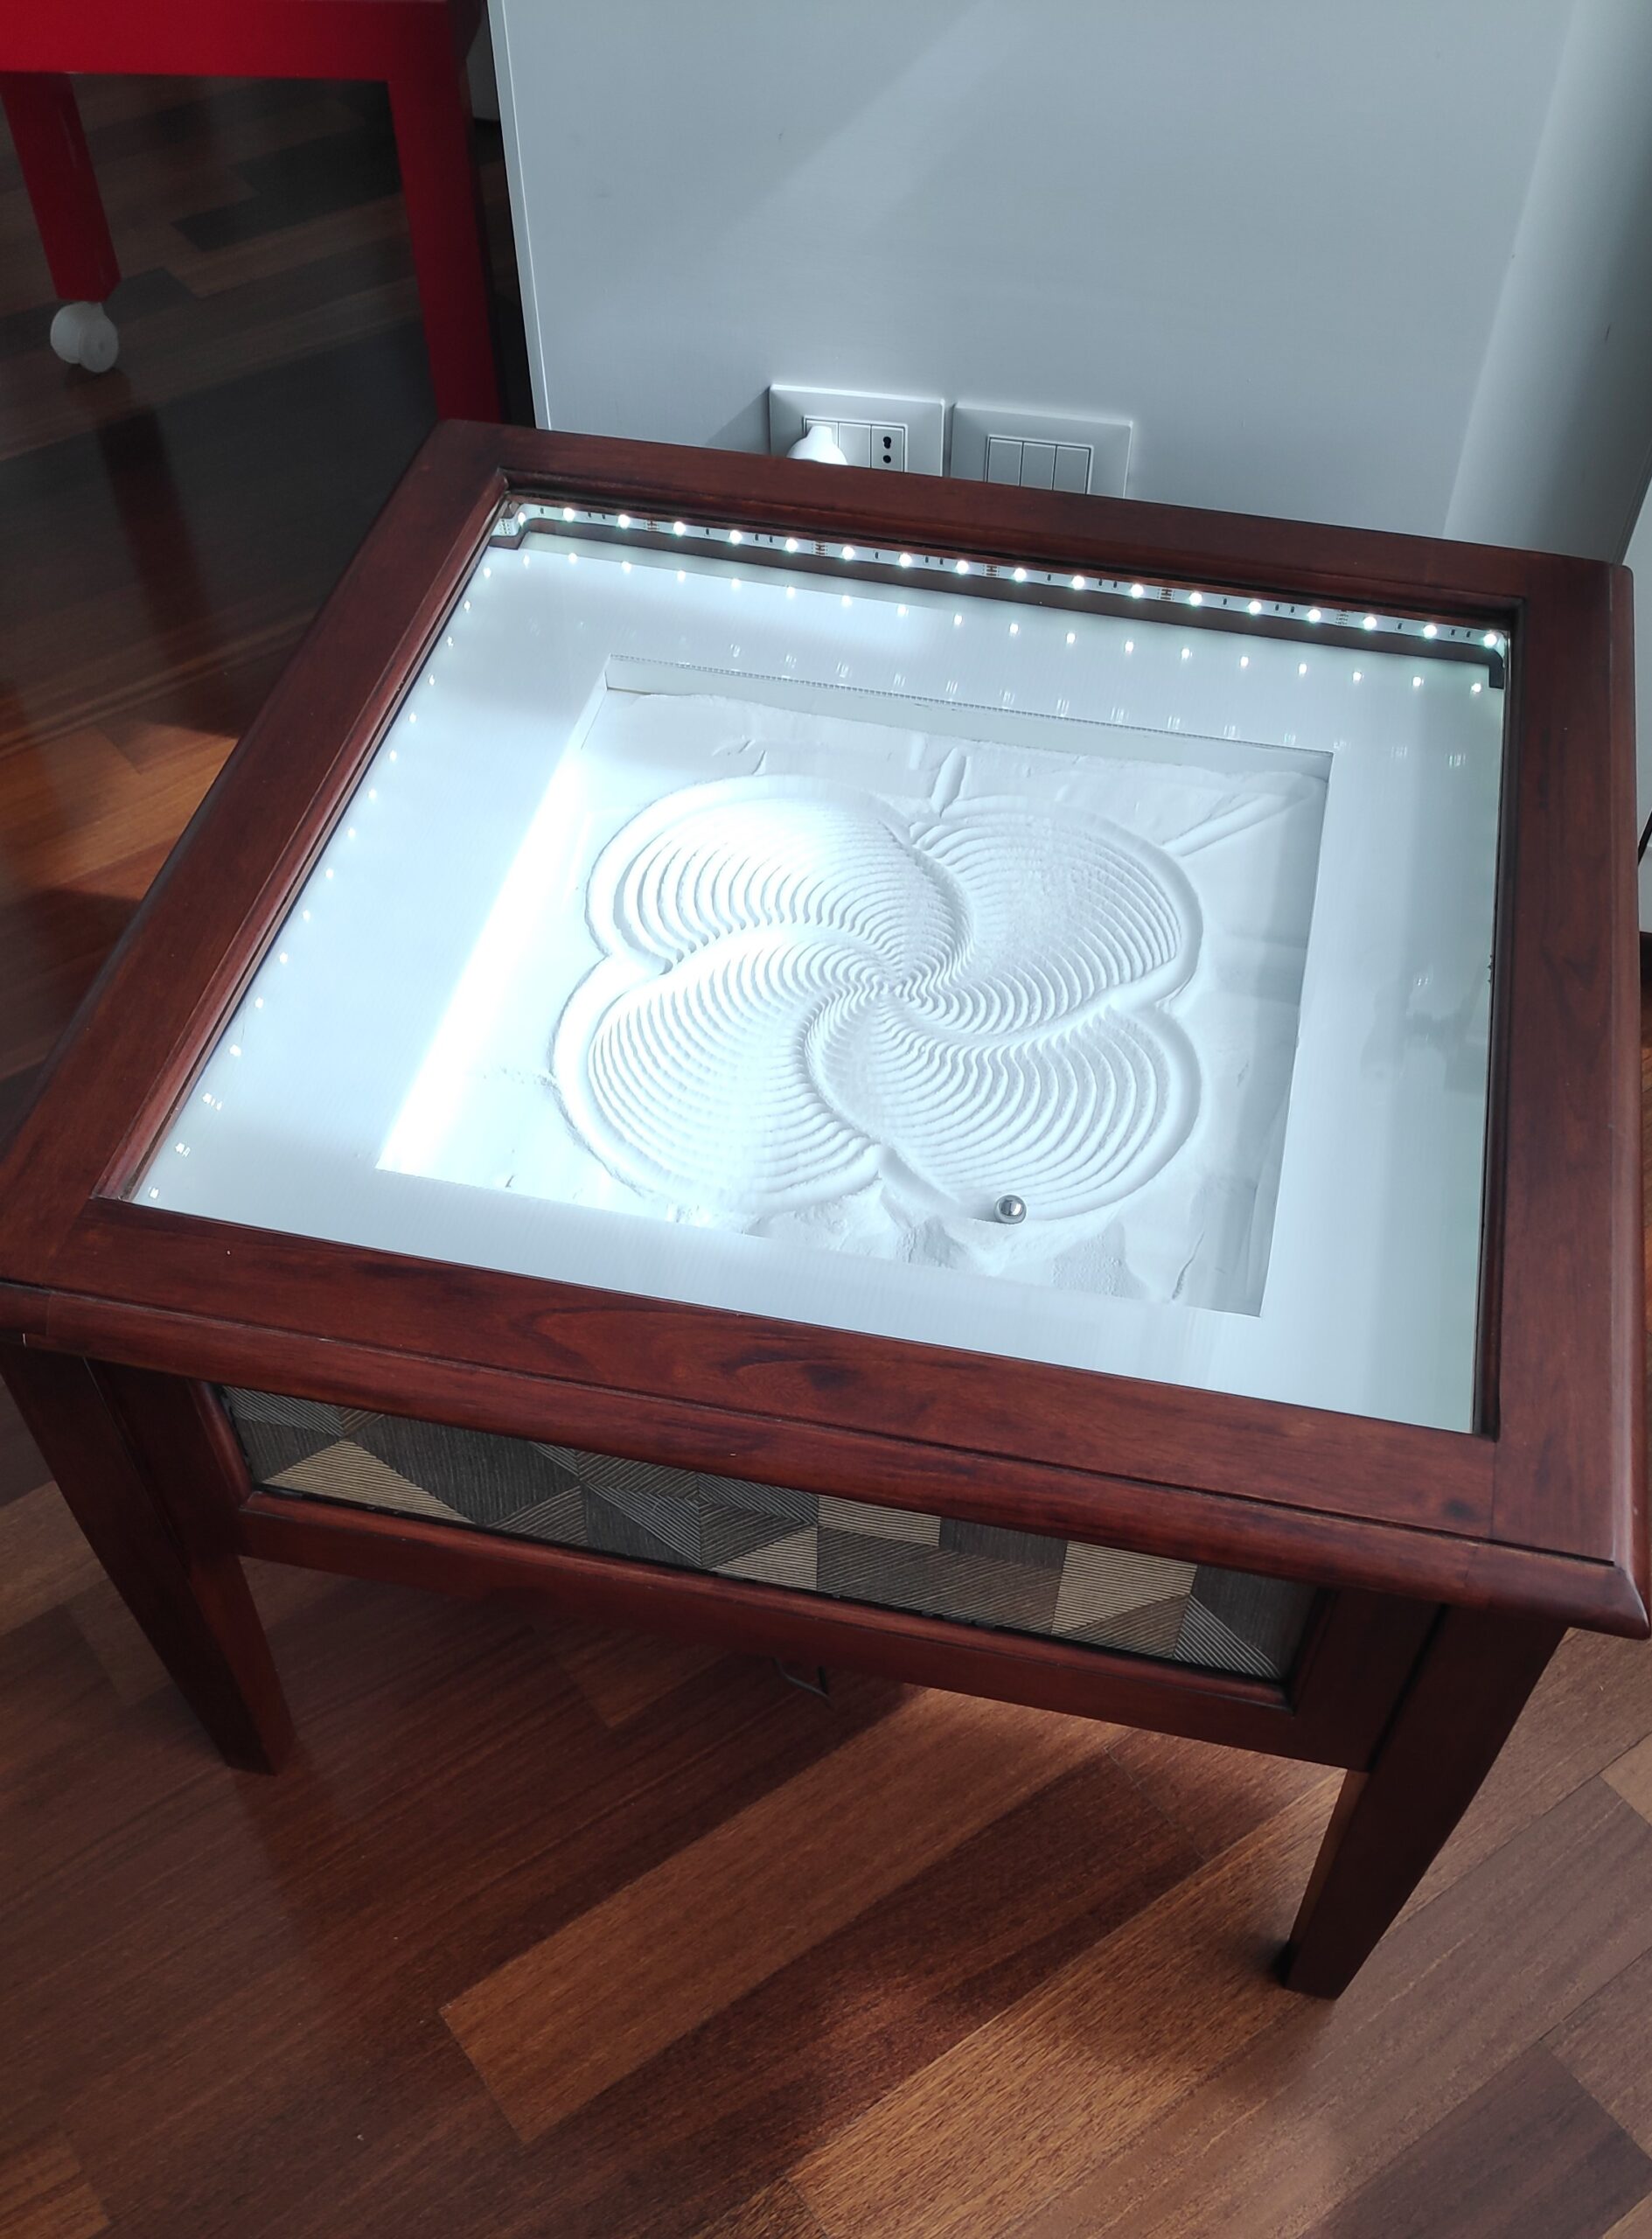
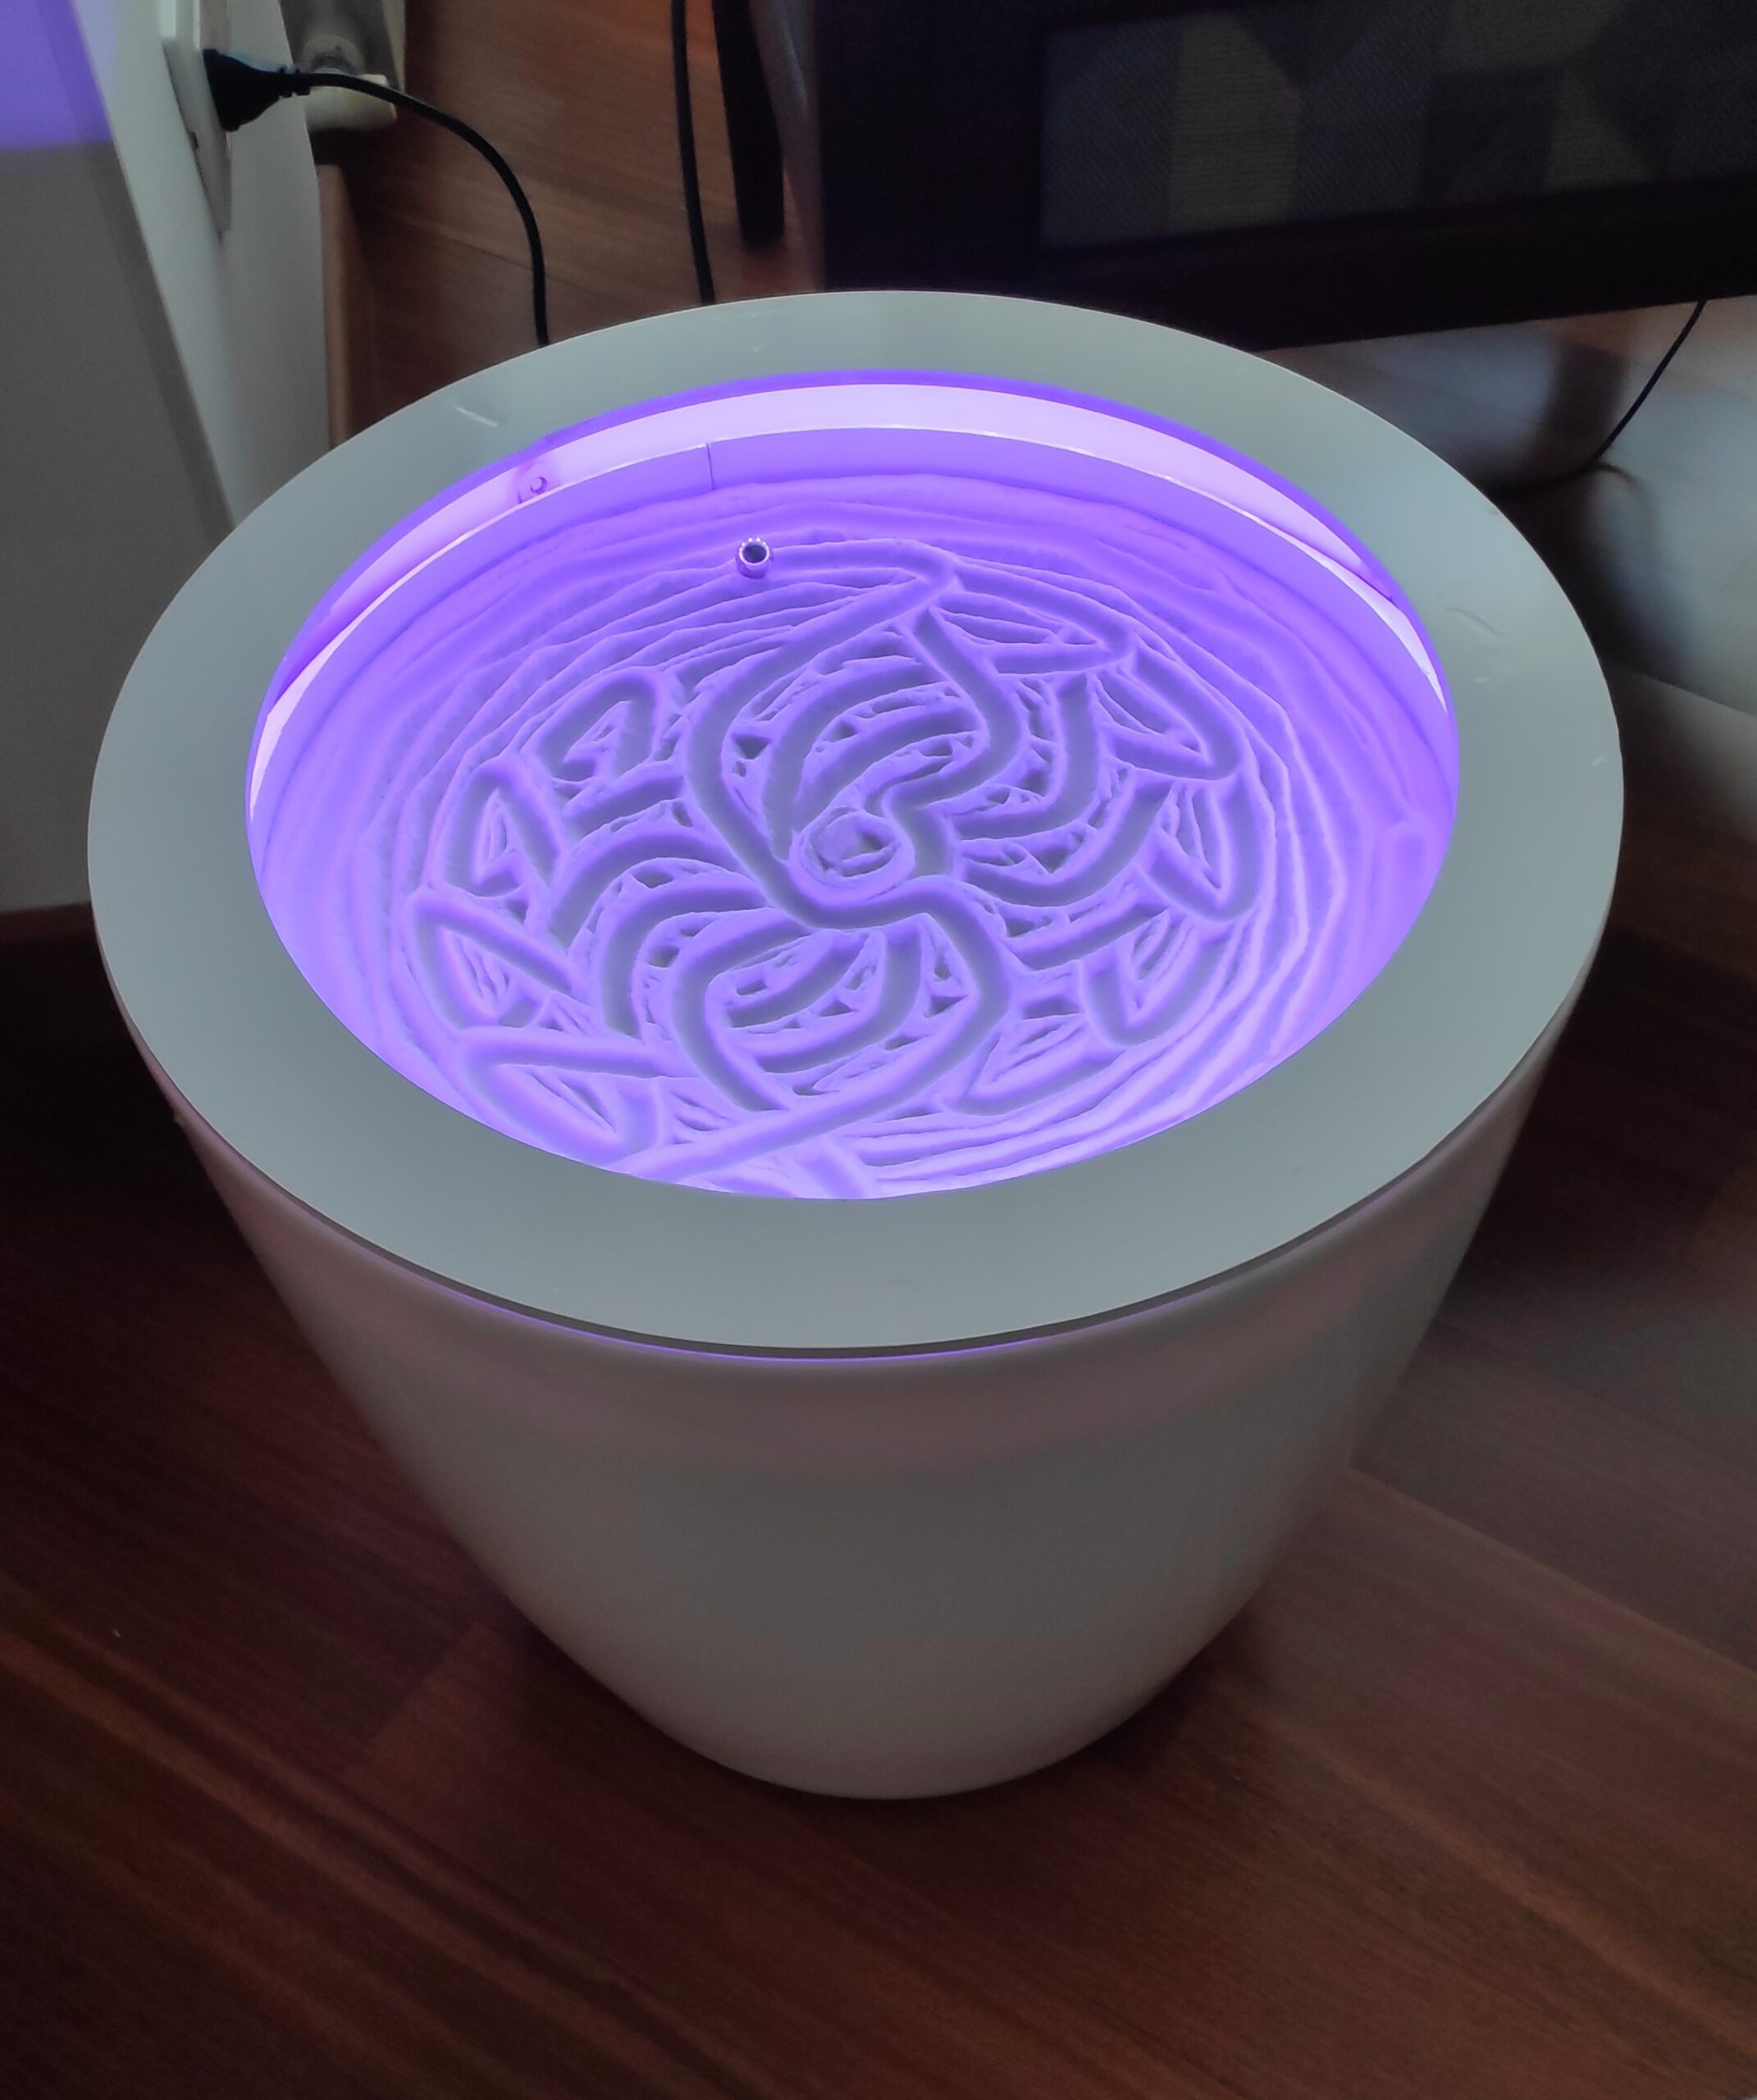
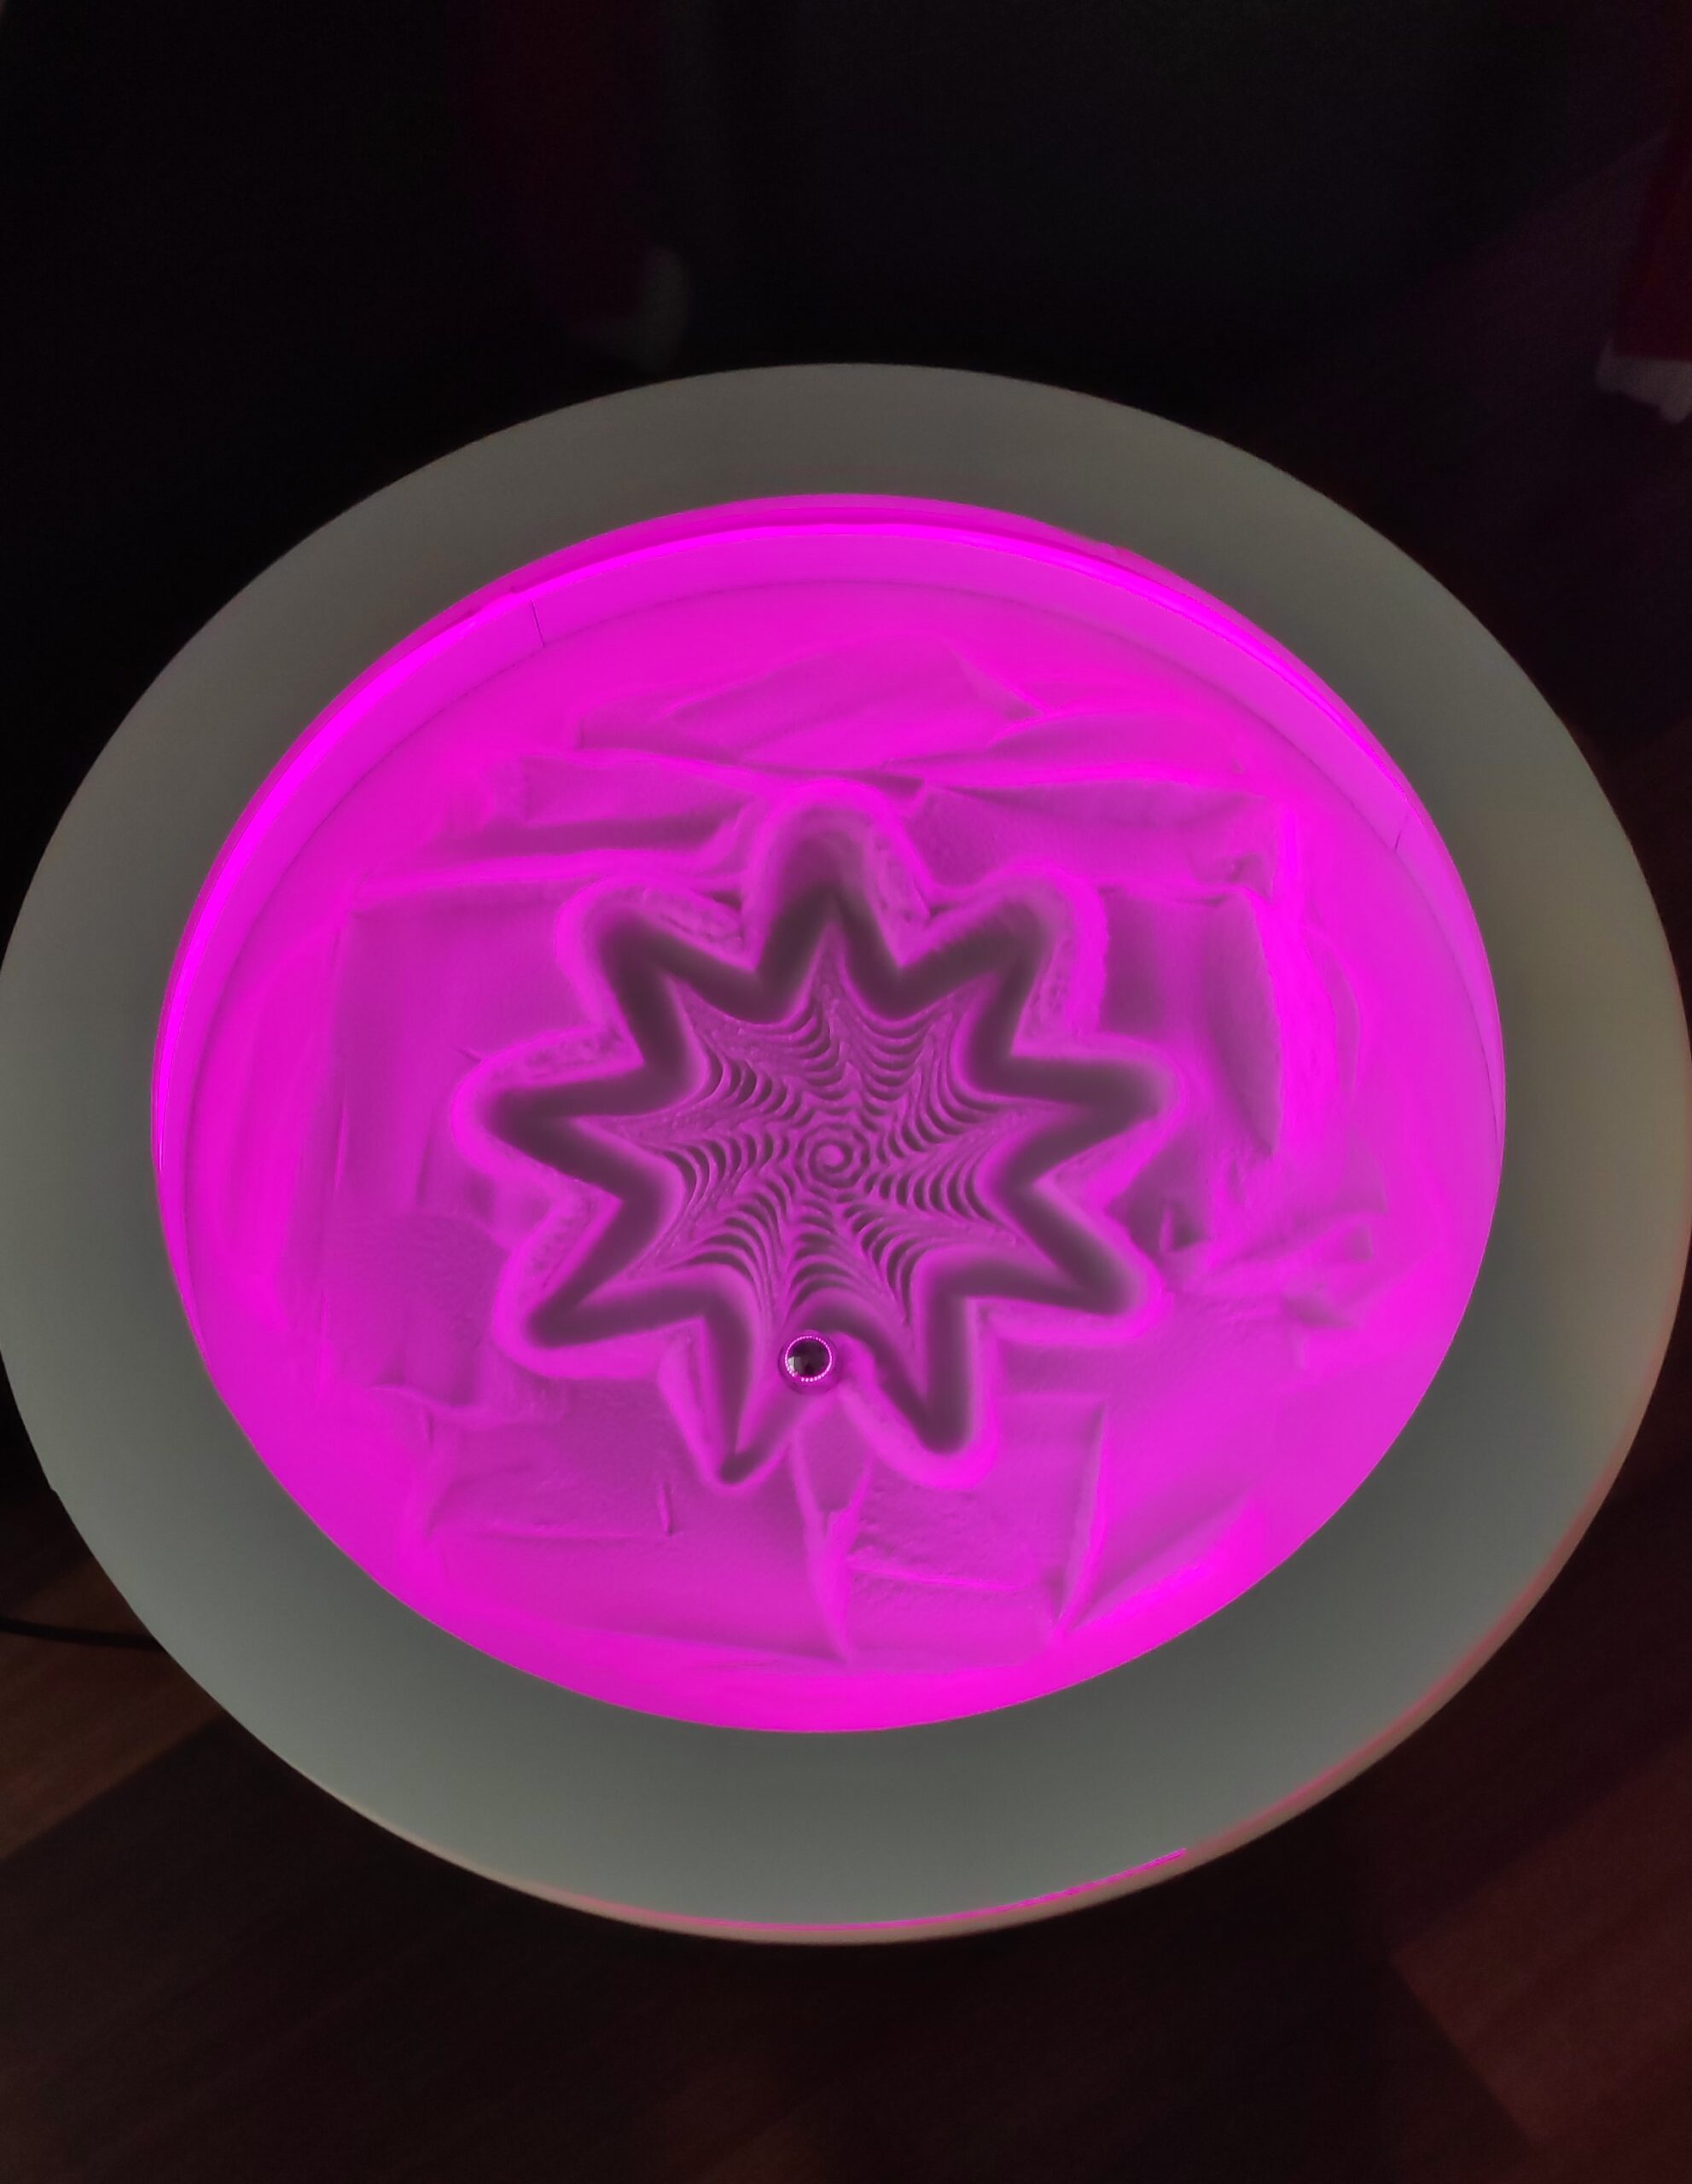
The first little table was actually repurposed from a regular commercial table that you can easily buy online for just a few bucks. The size and depth were a perfect match for the mechanism I had in mind, and I must say, it’s got quite the visual appeal. The moment I laid eyes on it, I was smitten, and I just had to put it to good use.
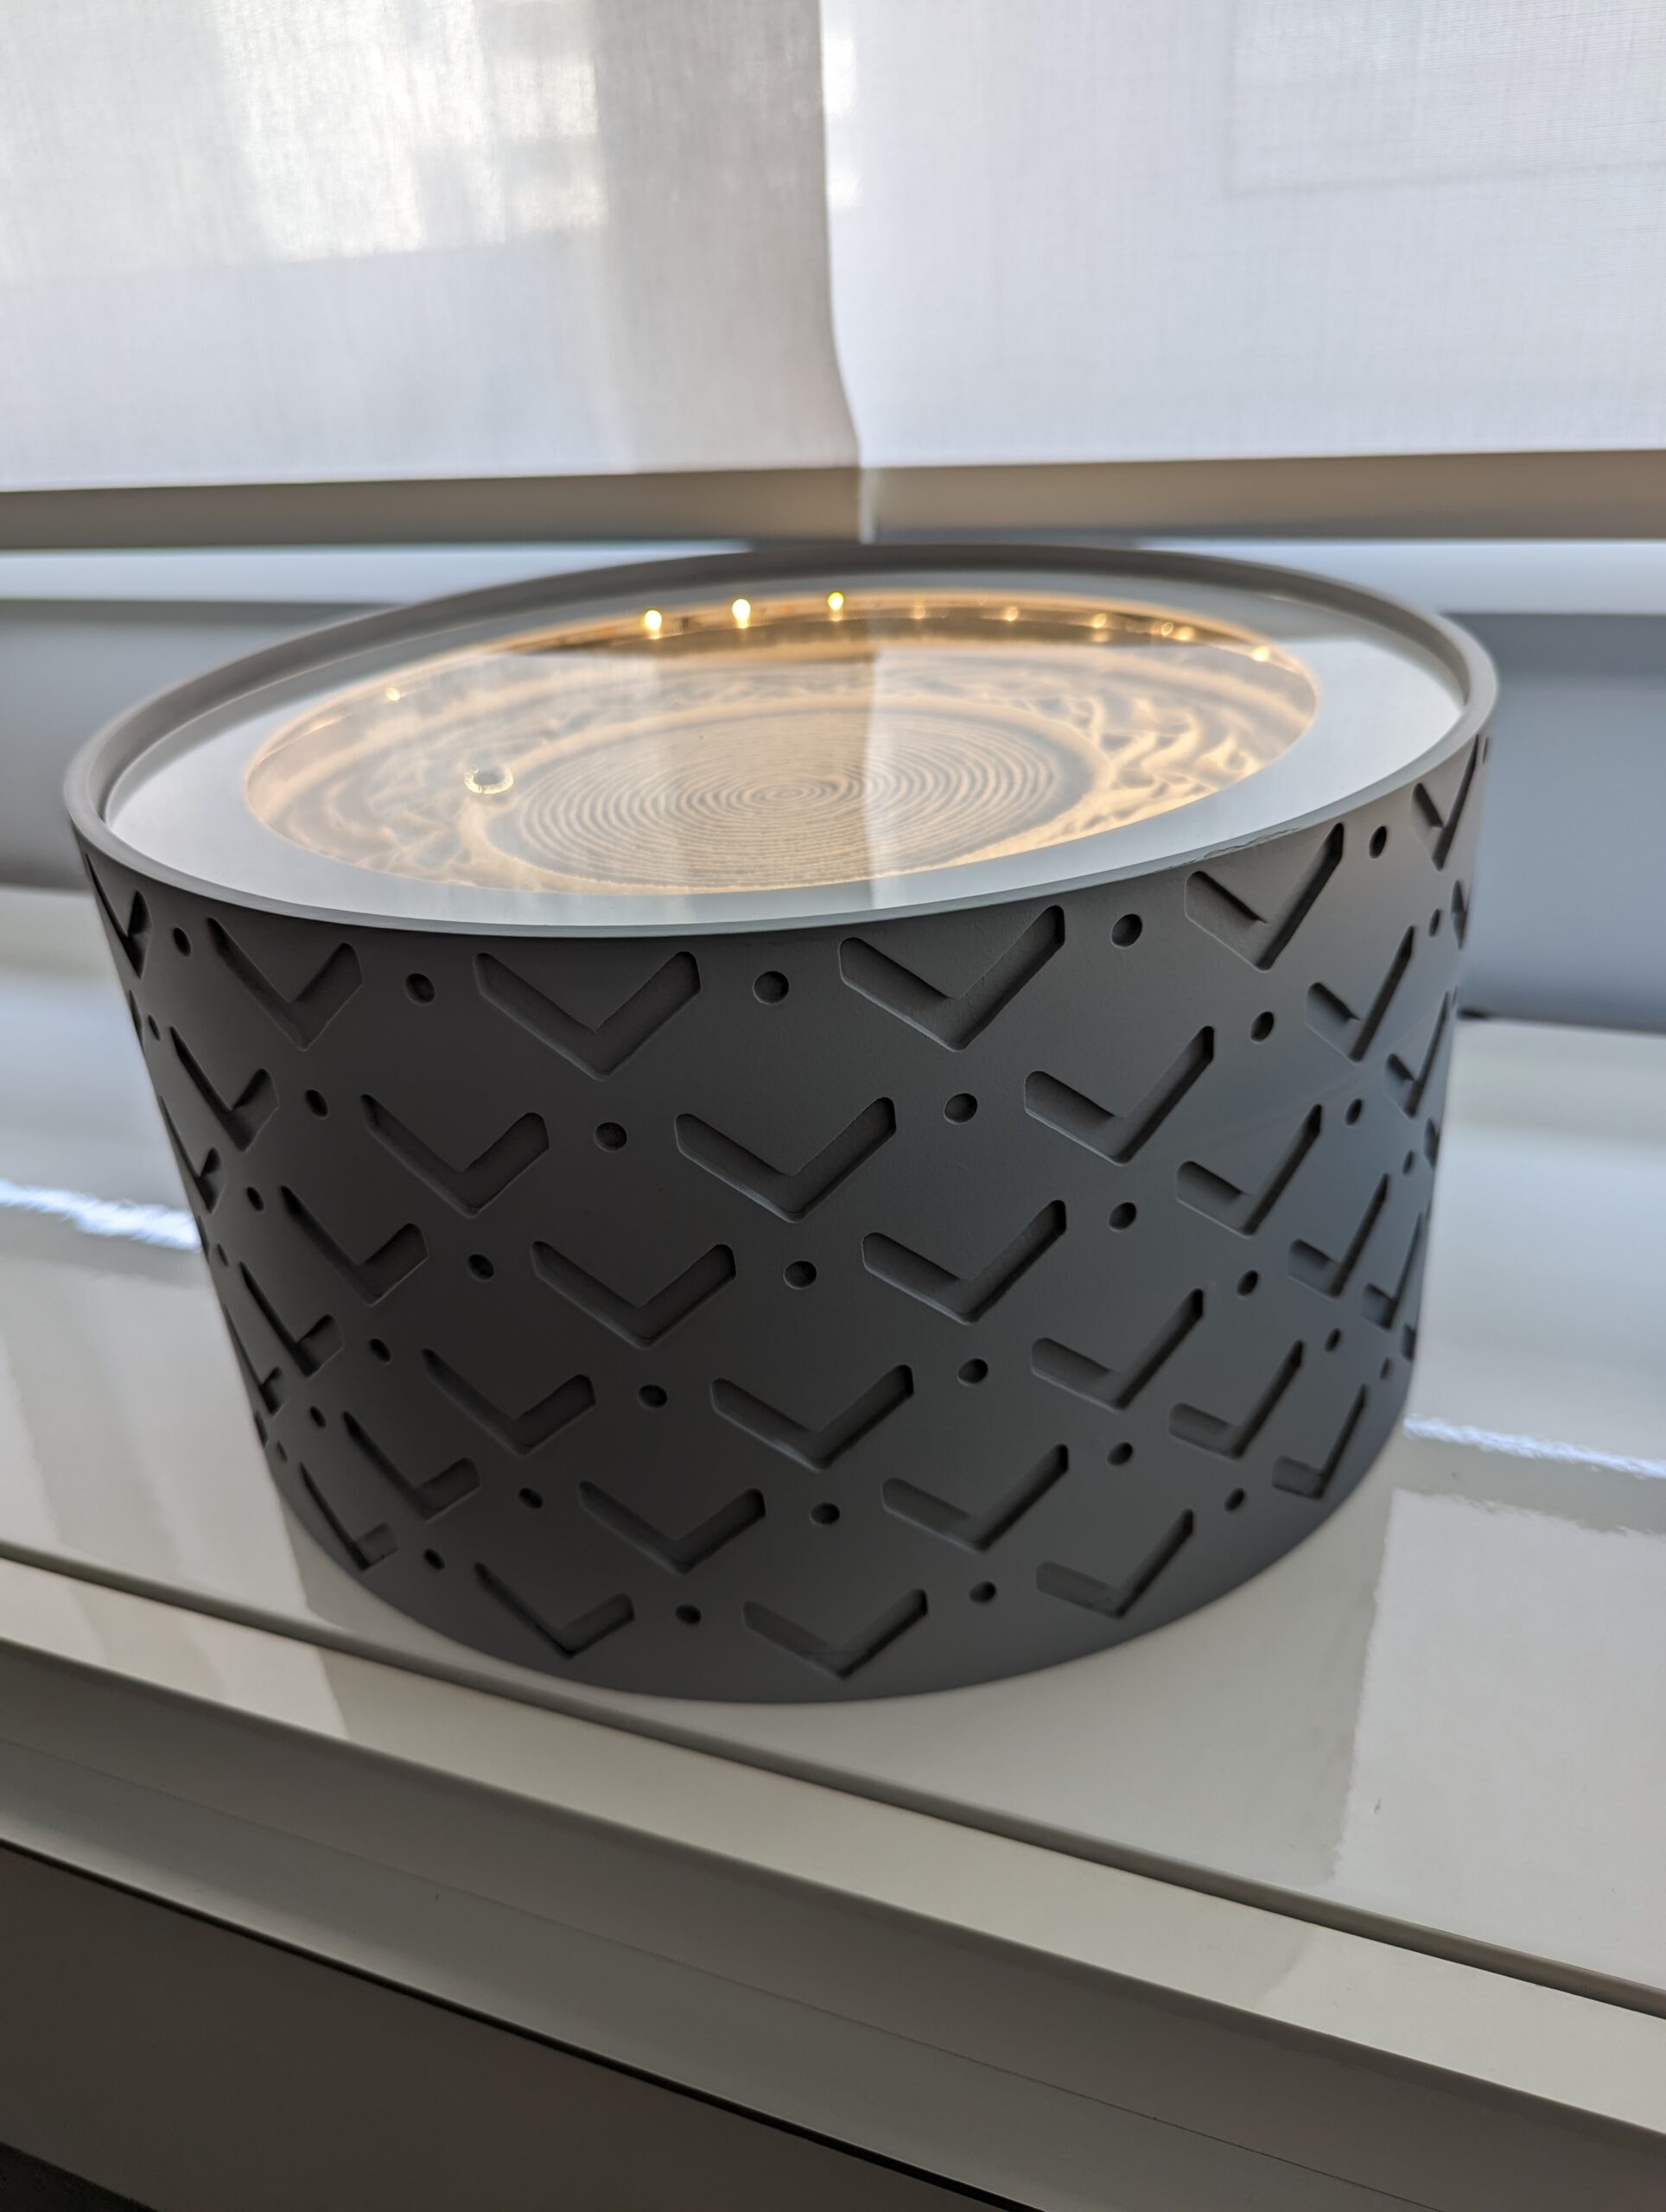
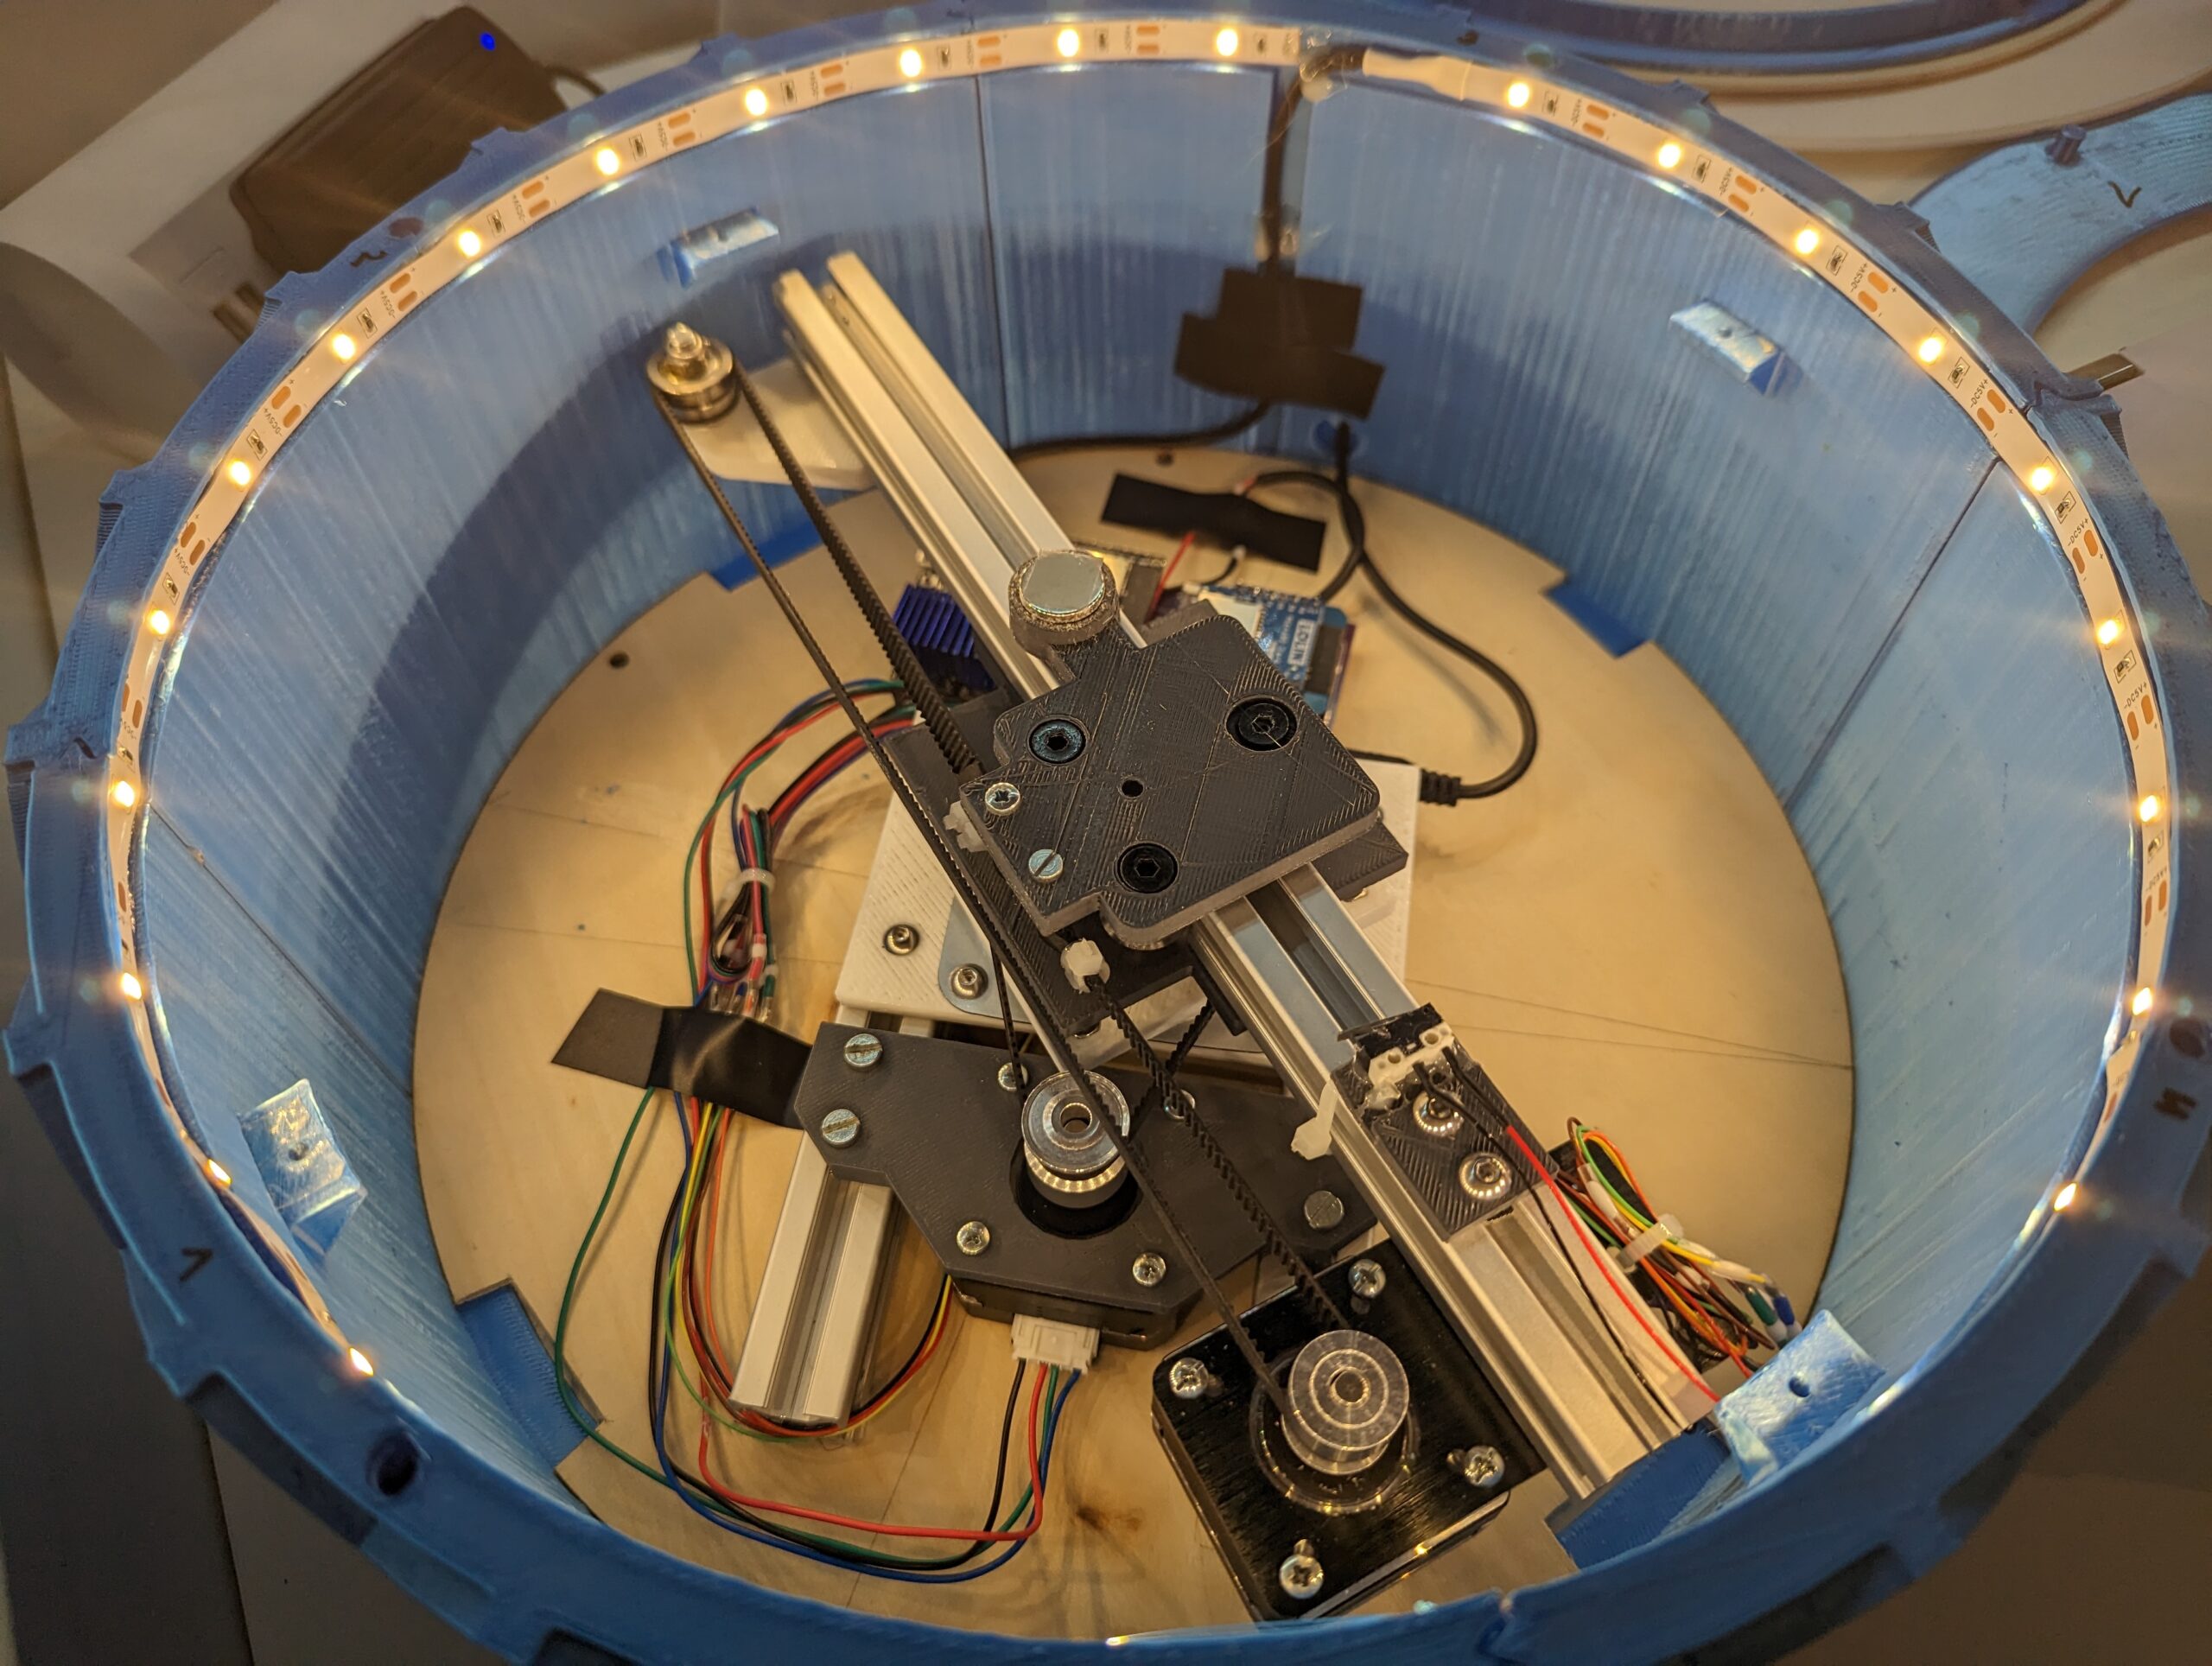
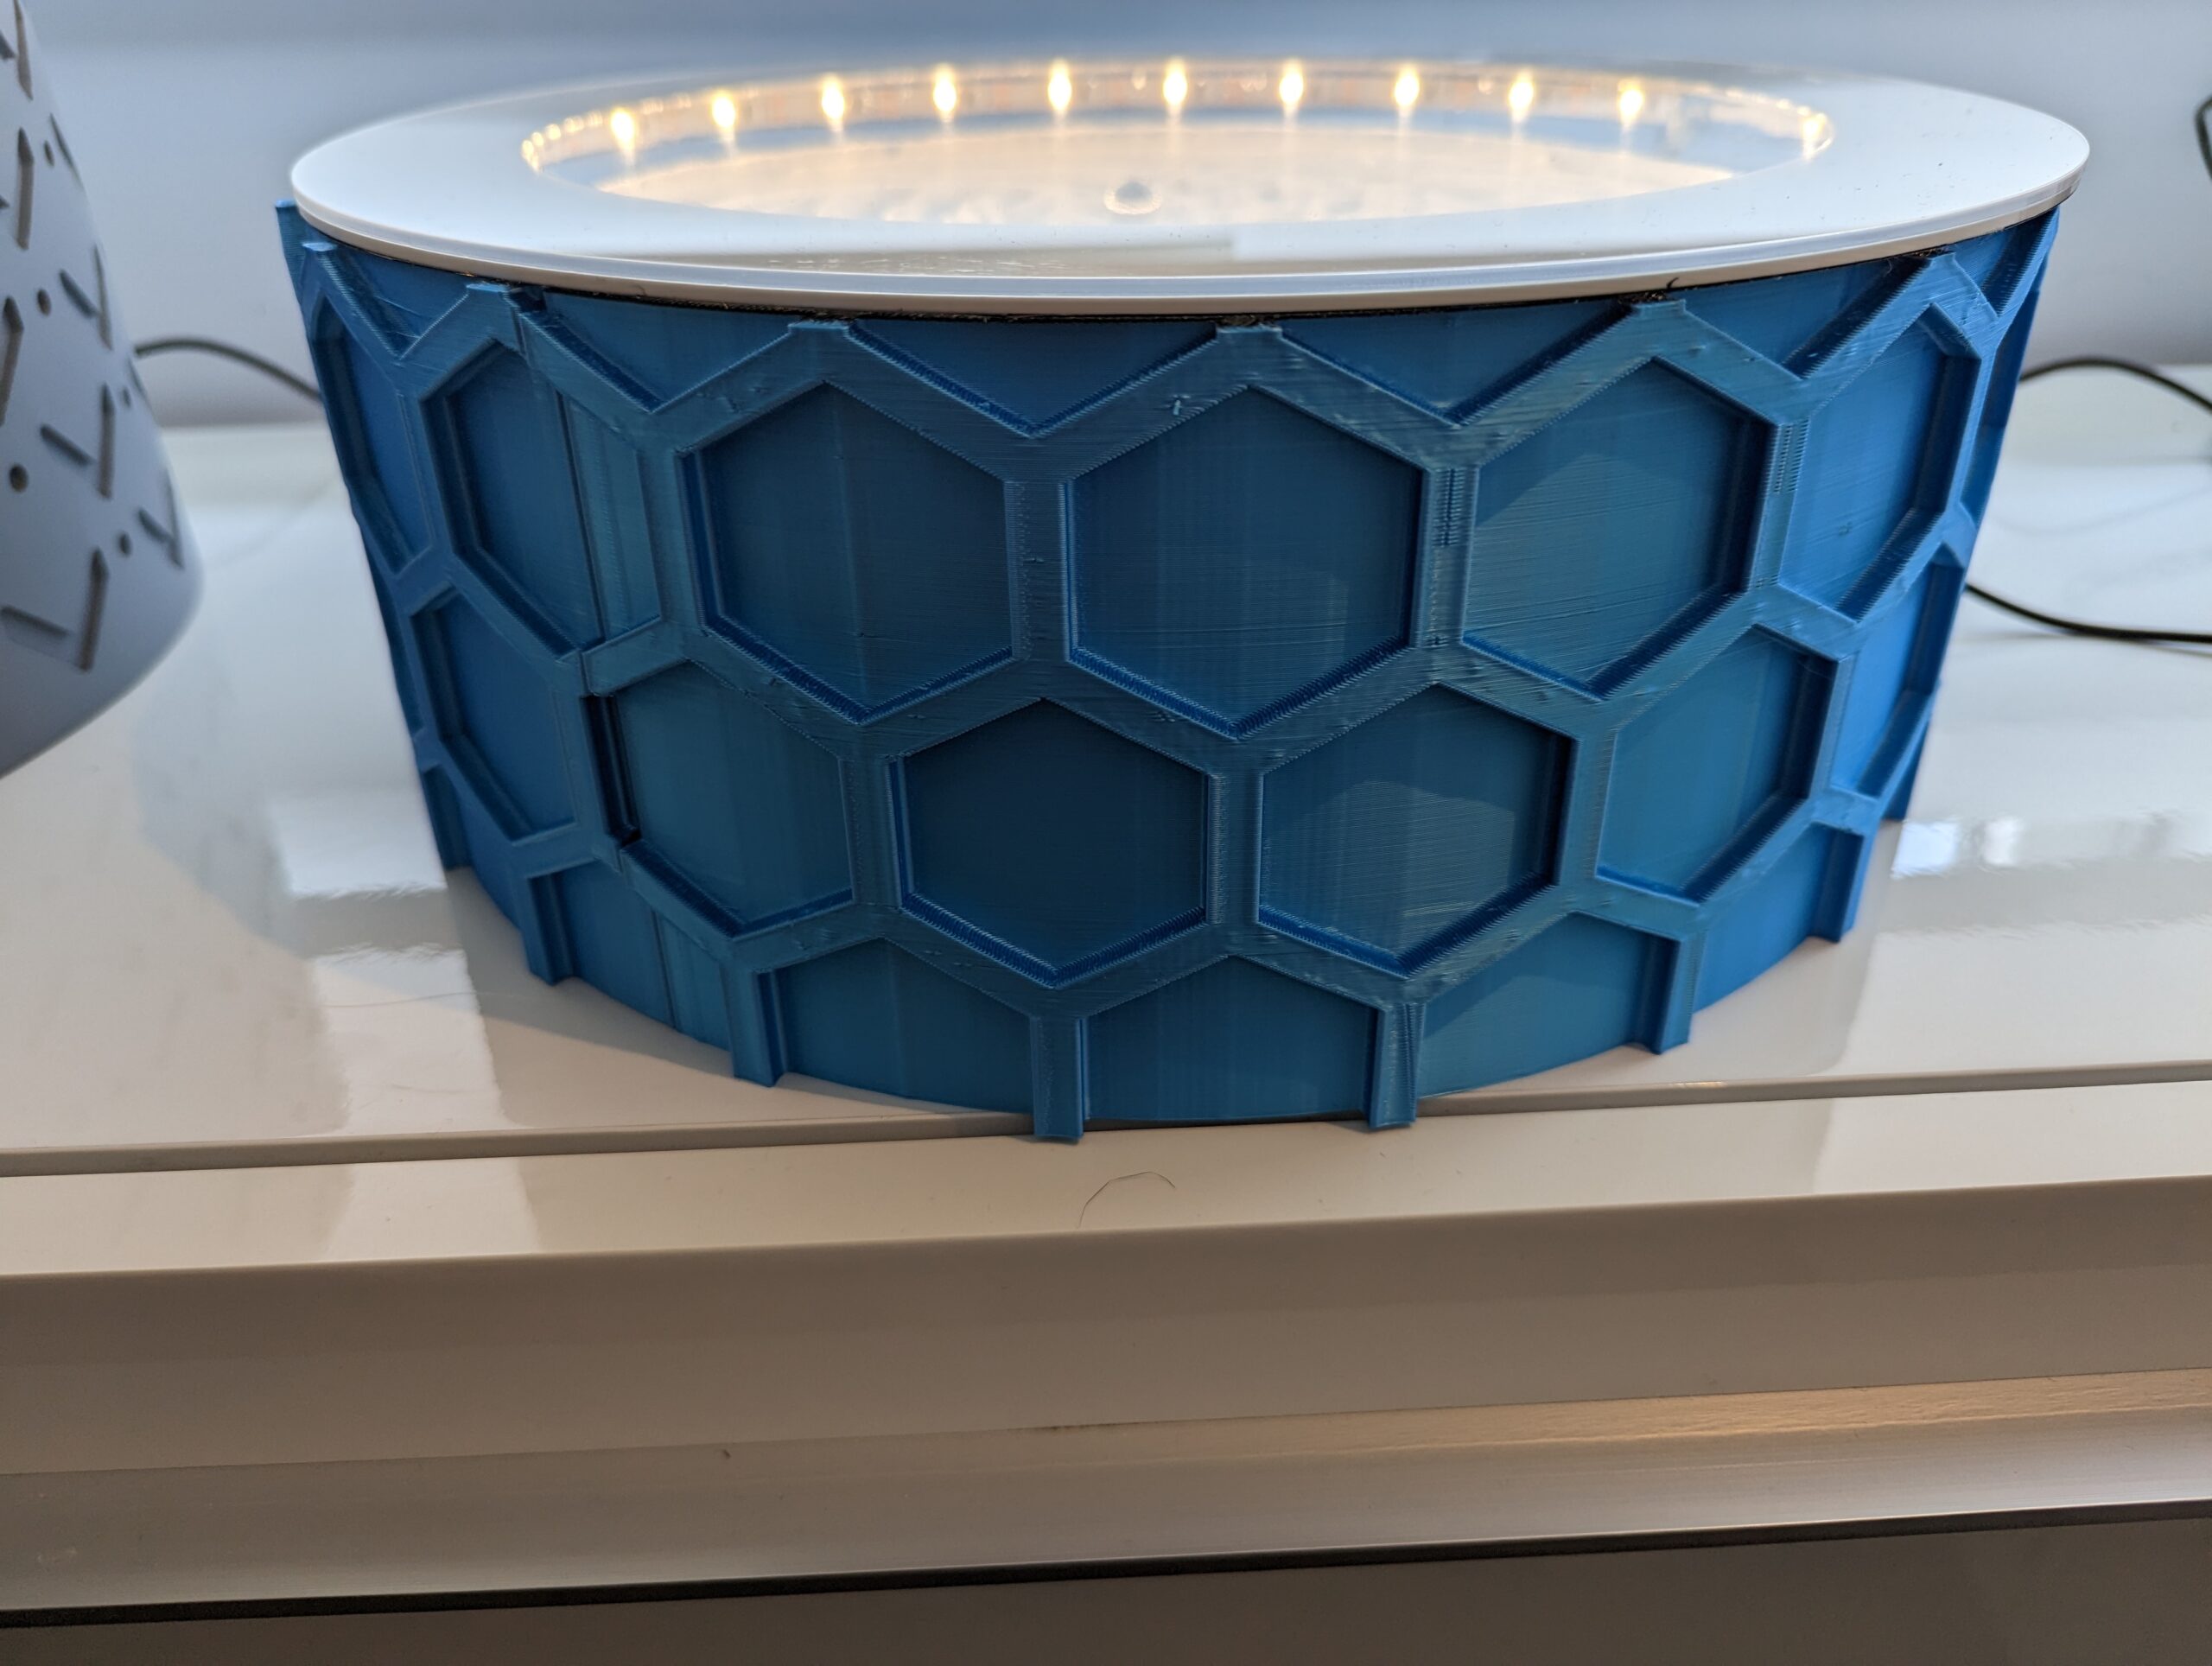
The second table is notably smaller and was actually 3D printed. I sourced the design from one of the many 3D shape websites and then split it into four sections. You see, my 3D printer isn’t quite equipped to handle a cylinder of such dimensions. I must admit that dividing it into four slices doesn’t really take away from the object’s aesthetics and it still looks quite charming.
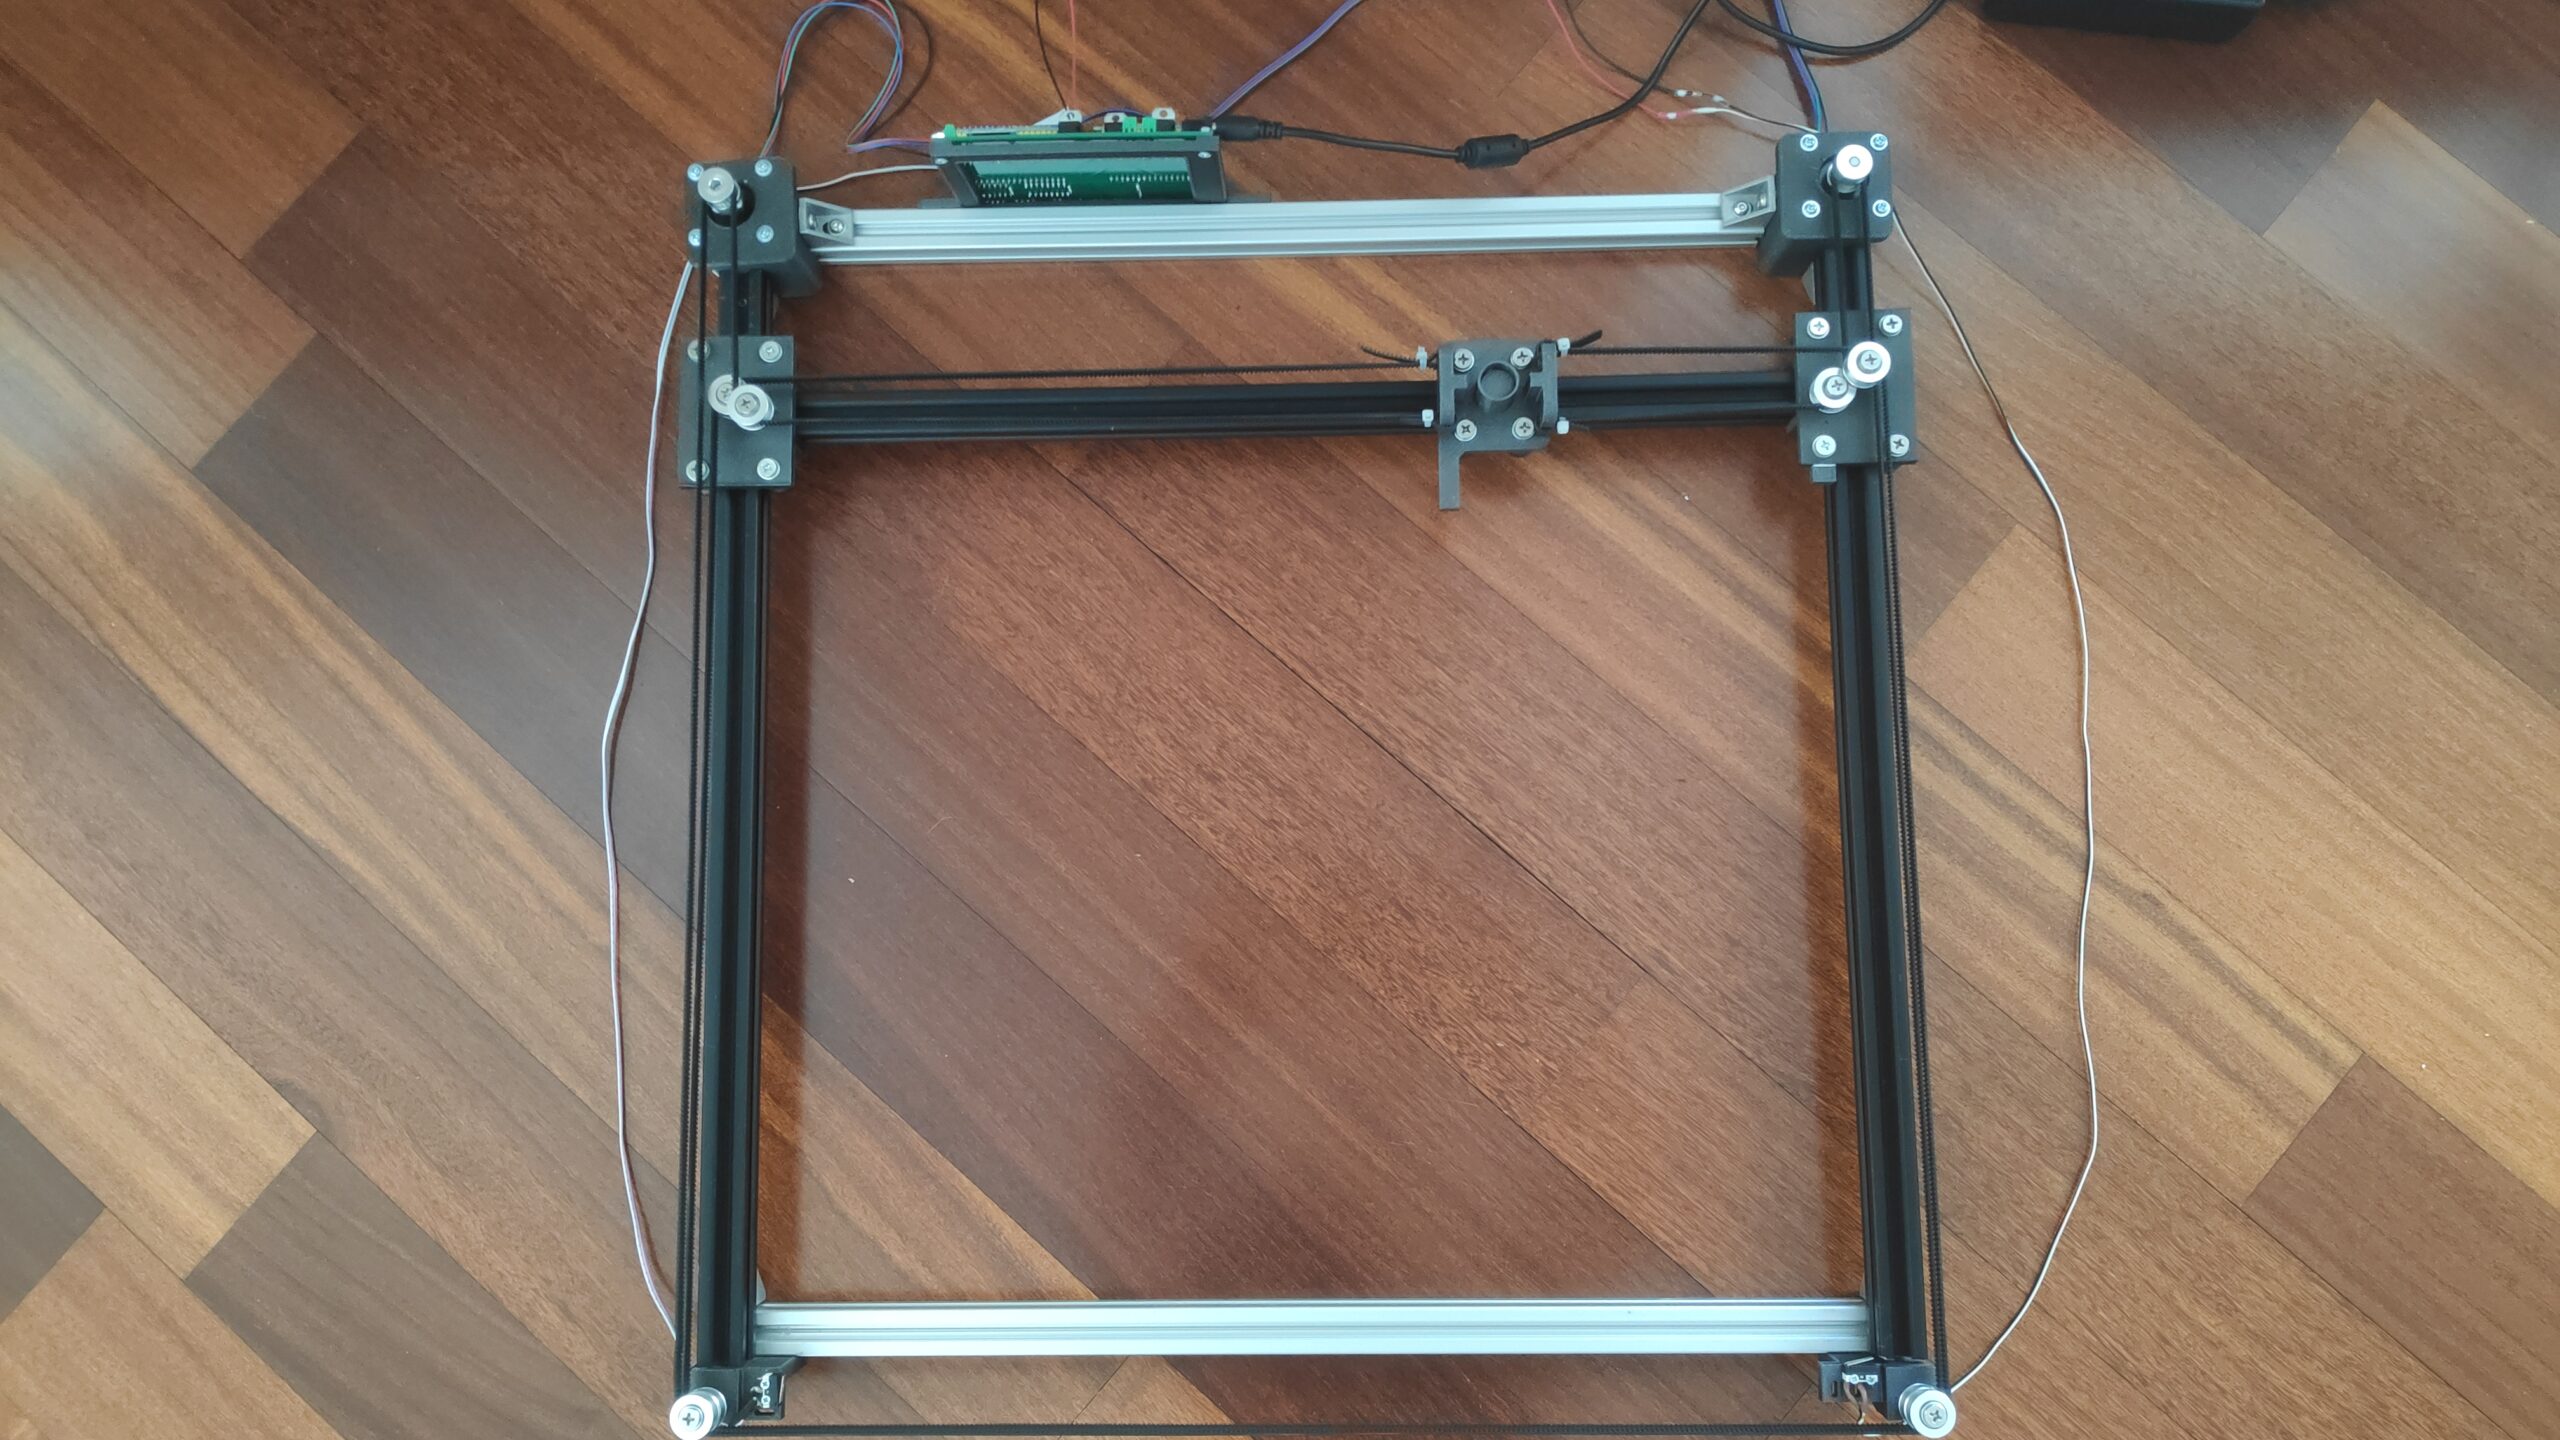
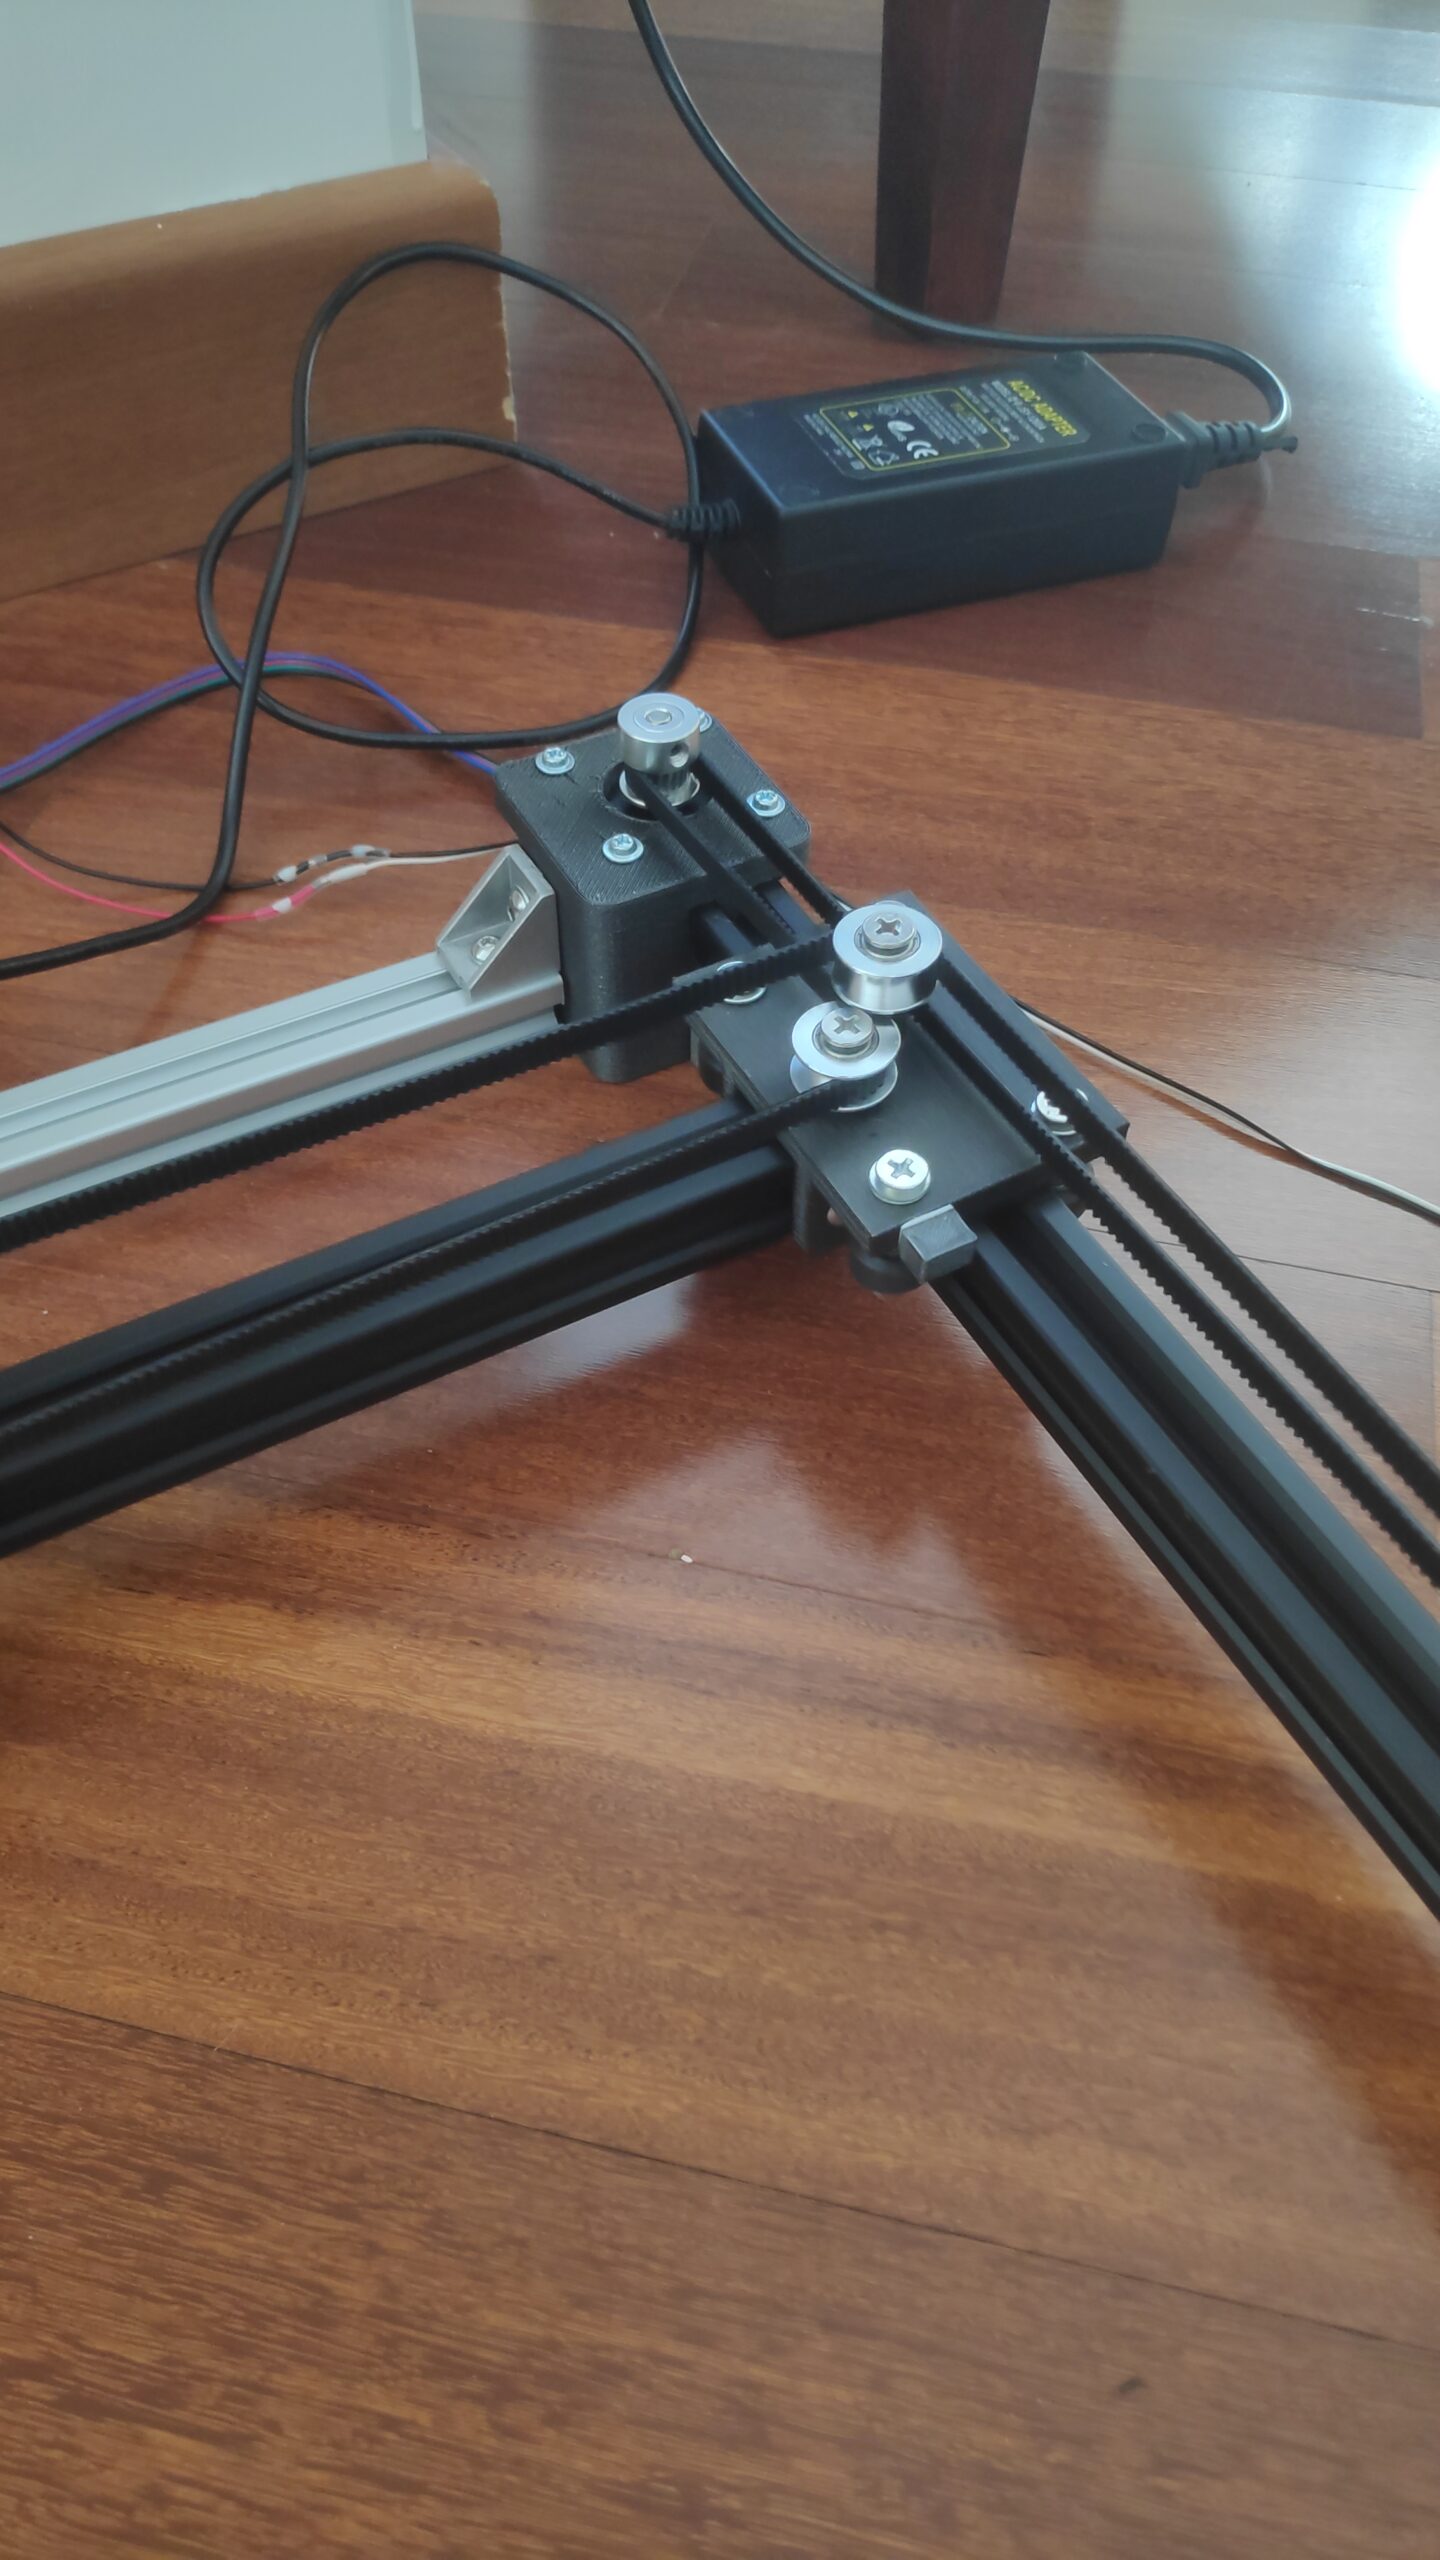
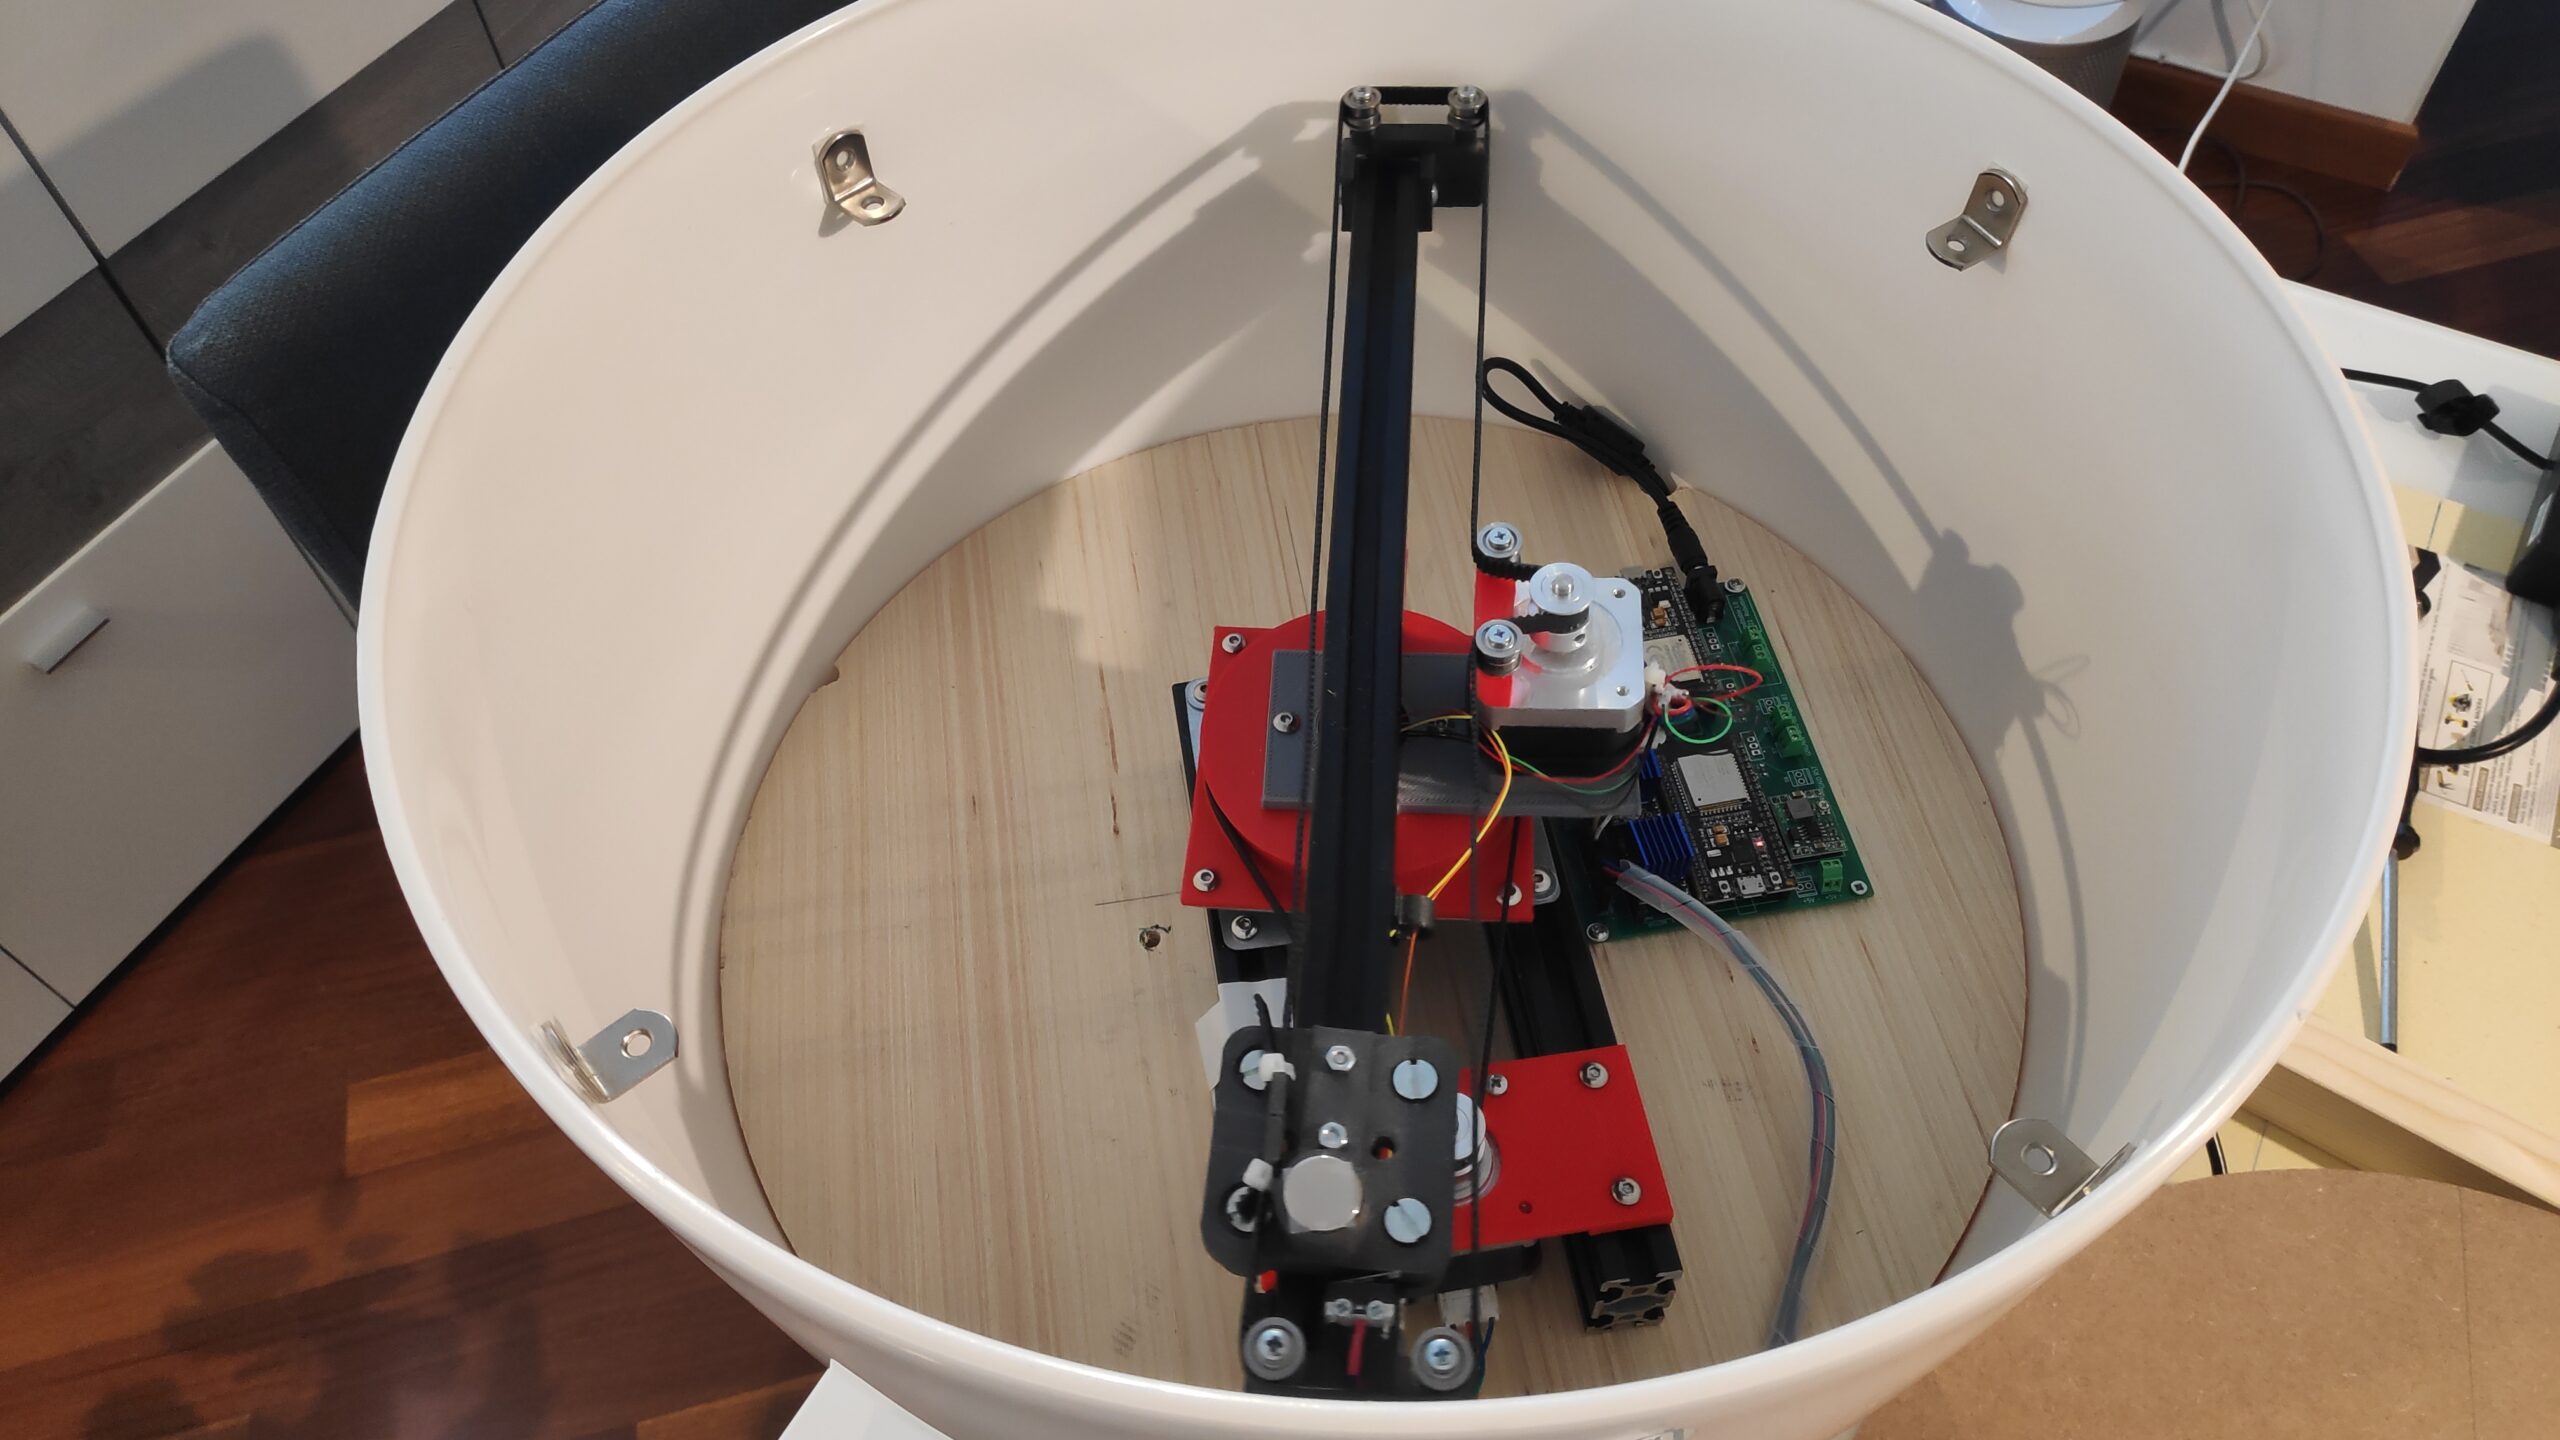
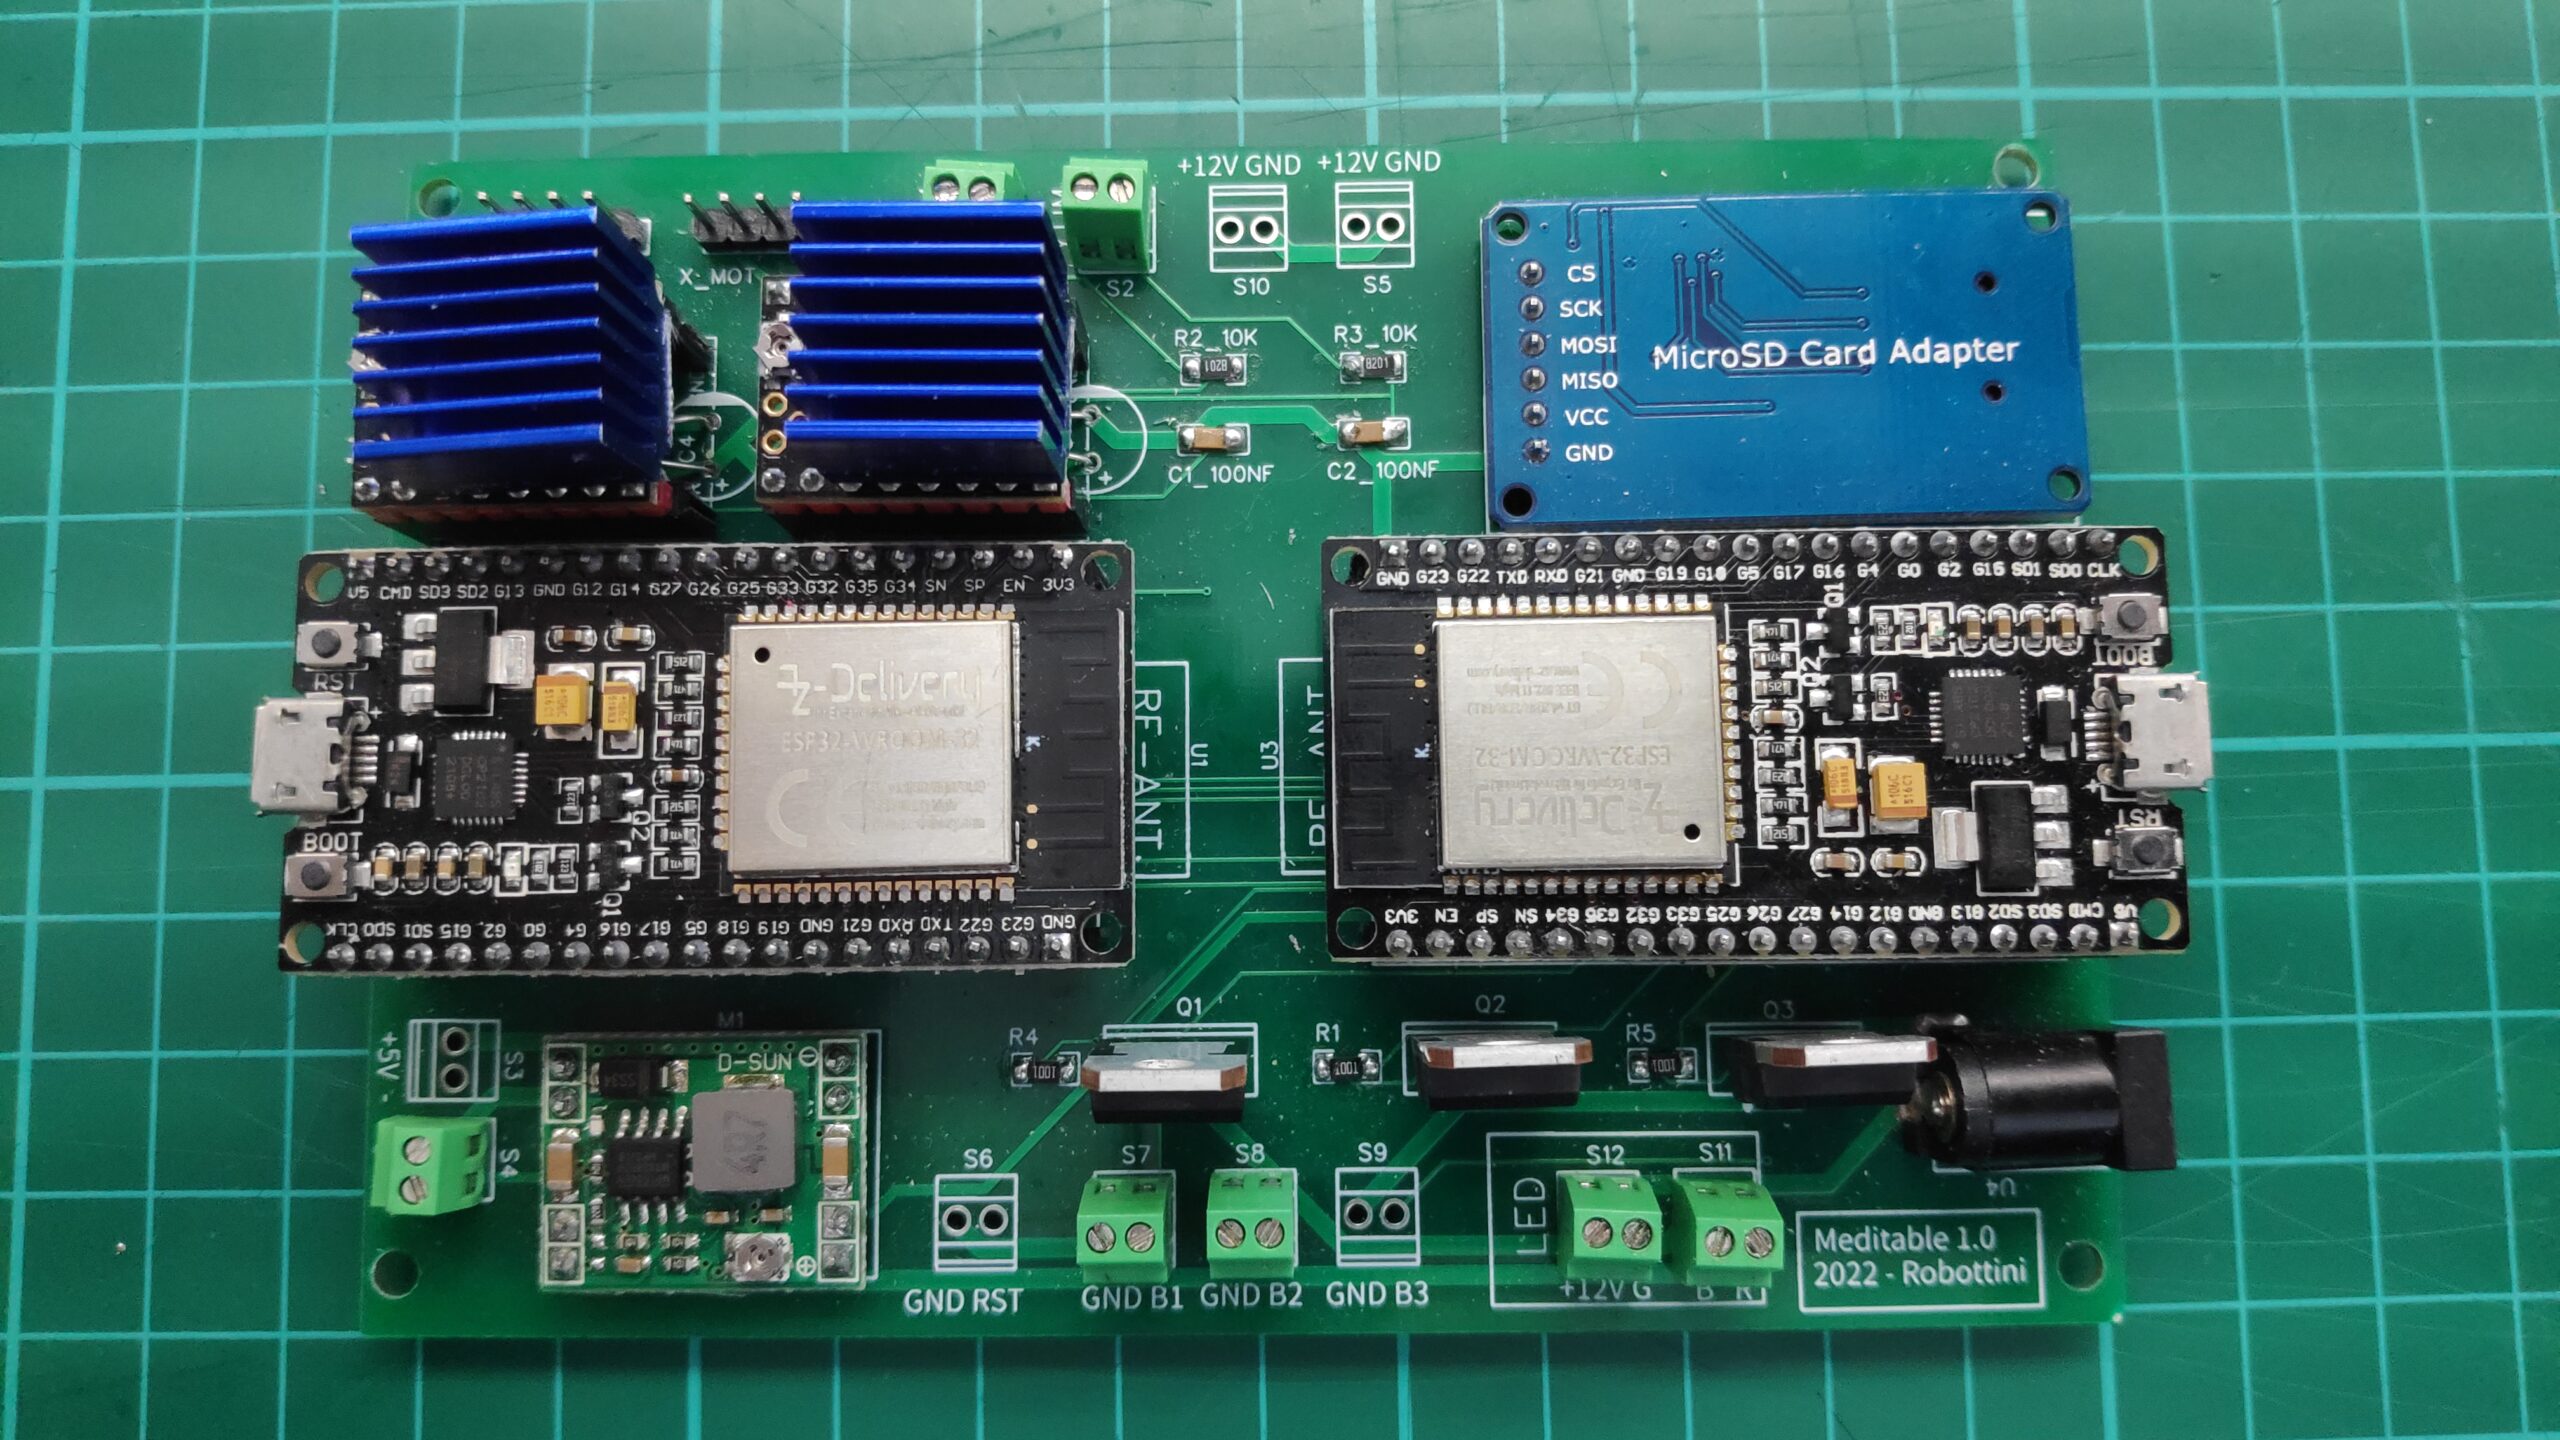
When it comes to the mechanics and electronics, there aren’t any notable differences from what was presented at the 2022 Maker Faire in Rome. The effort to downsize the mechanism led to optimizing all components and their relative positions. However, the kinematics remain unchanged, as does the electronics. The table from the 2022 Maker Faire is still functional in a corner of my home, so I’m confident that the mechanics and electronics of these tables will also prove reliable in the long run. With these new creations, I can confidently say that I’ve met my aspirations for the sand table project. They’ve been a success in providing relaxation and simple amusement through observation. Often, failures accompany the achievements. In the end, resources are limited, and so is the time available for these endeavors.